
Sculpey III® Little Lazies Halloween Bat
Sculpey III® Little Lazies Halloween Bat
Designed by Little Lazies
Read More
Read Less
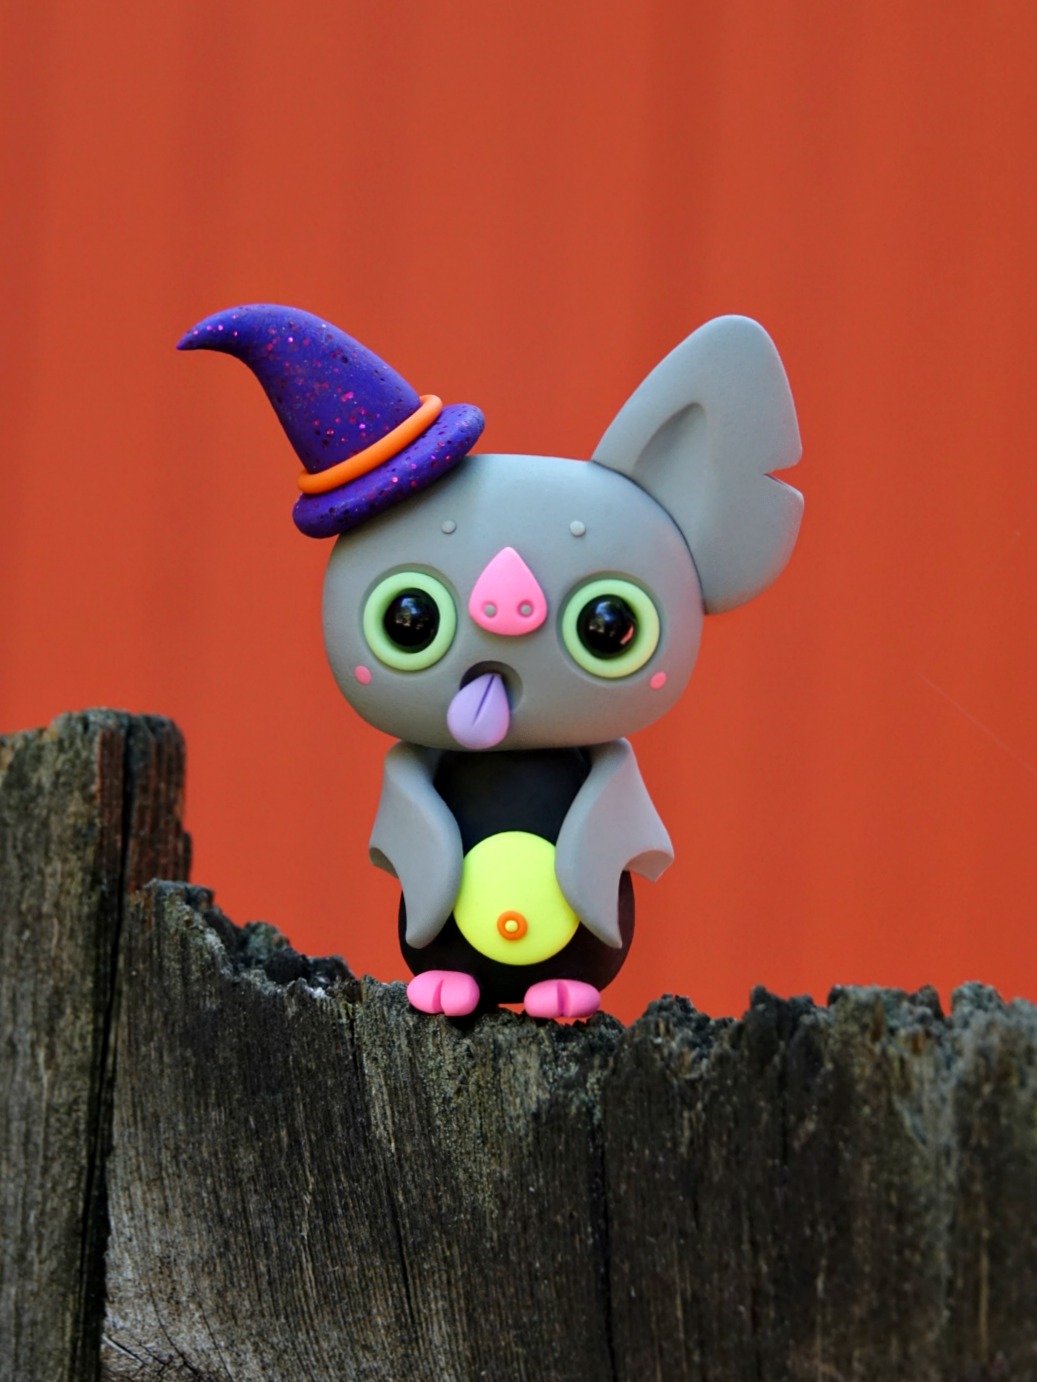
This cute little bat is a great addition to any Halloween decor!
ADDITIONAL SUPPLIES
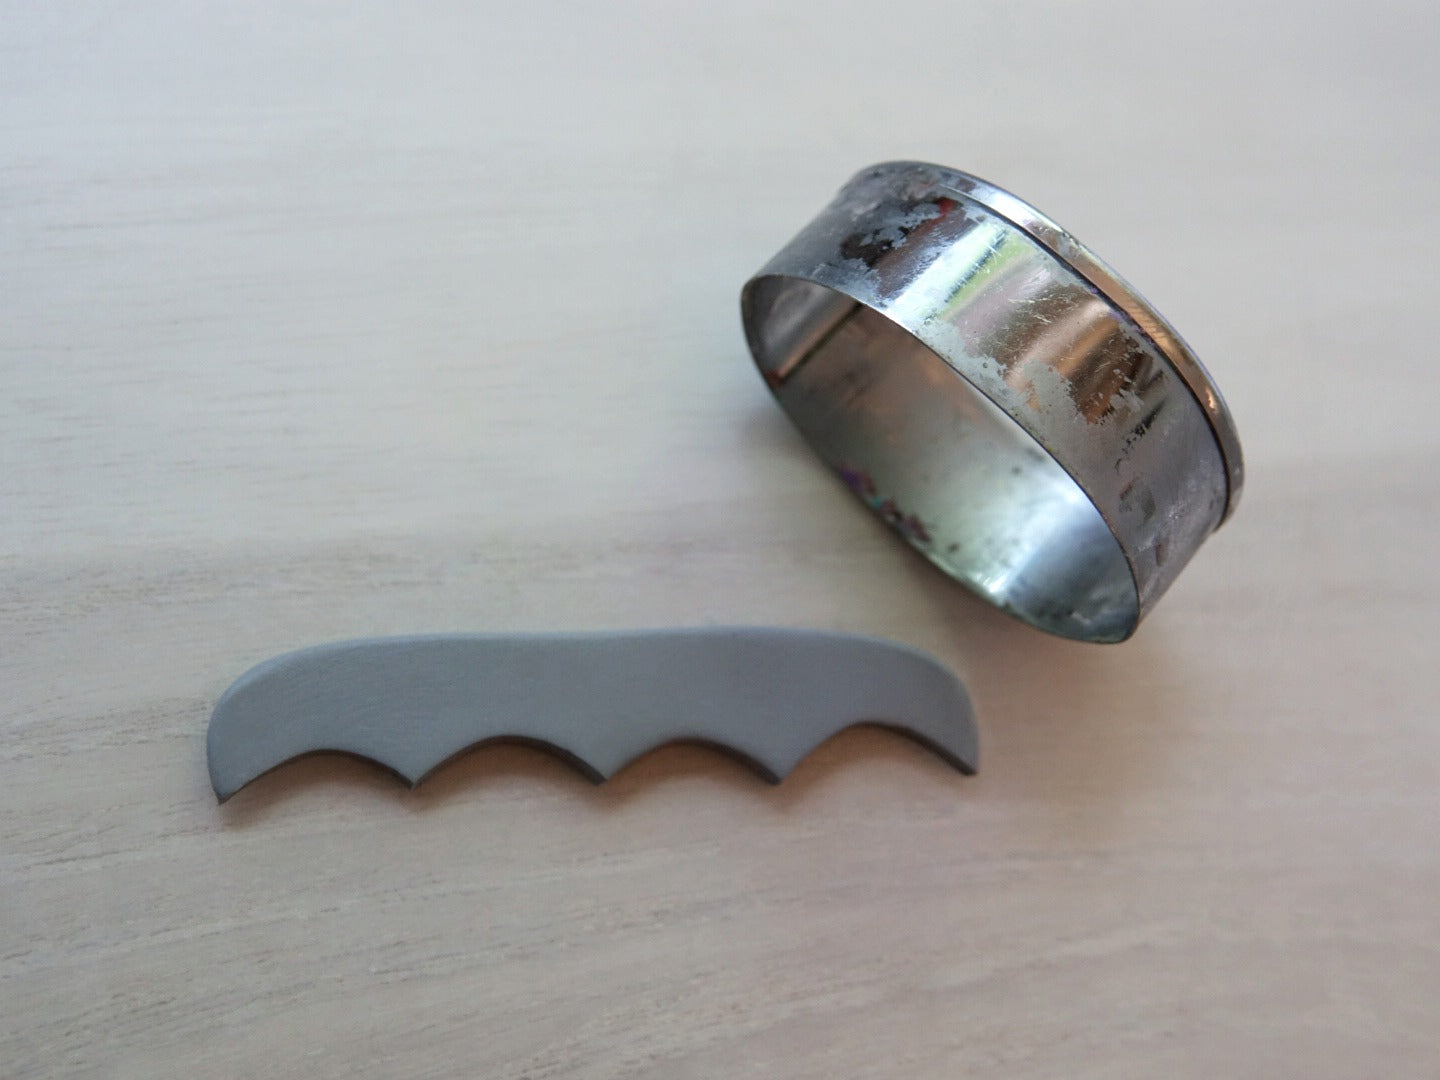
- Oval Cutter
- 5 mm Glass Bead x 2
- Toothpick or Wire
- Acrylic Paint – PINK
- Metal modeling tools
Project Instructions
- Getting Started:
Start with clean hands, unwrap and knead clay until soft and smooth, or condition by running clay though a Pasta Machine. We recommend using a designated machine for clay purposes only. When working with multiple colors, clean hands with soap and water or baby wipes (we have found that baby wipes work best) before switching colors. Shape clay, pressing pieces firmly together. Wash hands after use.
- Baking:
Bat Head and Ear Prepare your Clay by mixing Black Polymer Clay with White Polymer Clay to create a Light Gray color. Do this by kneading both clays together until the clay is well mixed, soft and pliable – if too soft, let rest for 10-20 minutes. Once the clay has rested, take a ball in your hands and with your palms create an oval shape for the Bat’s Head. To make the Ear, take another small chunk of Gray Clay and make teardrop shape, flatten with your palm or fingers. Next grab a modeling tool or any tool/item around the house that has a rounded triangular shape. Press this into Ear shaped piece to make an indentation. Grab an Oval Cutter and cut along the Ear shape at a diagonal. Set aside Bat Head and Ear.


Bat Wings Take more Light Gray Clay and create an oblong shape. Using your Sculpey Acrylic Roller, flatten the oblong shape to about 1/8 of an inch. With your Oval Cutter, press out half circles into the flattened shape to create the curves of the Wings. Set aside.

Bat Body, Nose, and Feet Grab some Black Polymer Clay from your Kit to create the Polymer Clay and mix with a little White Polymer Clay to create a Medium Pink color. Take two small balls of the Medium Pink Clay and form small triangular shapes for the Bat’s Feet. Flatten them out with your finger. Take a slightly larger ball of Medium Pink Clay and form a larger triangular shape, flatten it with your finger - this is the Bat’s Nose. Set aside all the pieces.

Bat Belly and Belly Button With a small piece of Purple Polymer Clay from your Kit, make a small ball using your palms, then flatten it out with your palm or finger. Take your Bat Body from Step 4 and attach the flattened circle to your Body. Press firmly to attach. Next you will make the Belly Button - take some of the Just Orange Polymer Clay and make a very small circle, press this circle onto the Witch’s Brew colored circle/Belly. Using a very small Sculpey Ball Tool, press into circle to create the Belly Button. Add a small ball of Purple Sculpey III Polymer Clay into the indentation by pressing gently with your finger. Set aside Body.


Bat Face Part I To make the Eyes, take the Light Gray Head shaped piece of clay from Step 2 and press two indentations into the clay using your biggest Sculpey Ball Tool. Next, from your kit, make two balls out of Glow in the Dark. Press each into the indentations you just made, then using your medium sized Sculpey Ball Tool, press into these balls to form eye sockets. Grab two 5 mm sized Glass Black Beads and press them firmly into the sockets. Instead of Beads, you could also use clay for this step by forming two small balls in the Black Clay from your kit.

Bat Face Part II Next you need your Pink Nose shaped piece from Step 4 - press it gently into the Head shape, right between the two eyes you just created. Take your smallest Sculpey Ball Tool and press two nostrils into the Nose. Add small clay into the nostrils like you did for the Belly Button in Step 5. With your medium sized Sculpey Ball Tool, press to make a mouth opening below the Nose. Take Purple Sculpey III Polymer Clay and lighten it with White clay. Using that Light Purple color, make a small teardrop shape for the tongue. To attach, add a tiny drop of Sculpey Bake & Bond to the tongue and press into the hole you made as the mouth. Sculpey Bake & Bond is a bakeable adhesive that forms an incredibly strong bond between two pieces of polymer clay. Using a Knife/Blade make a small slit at the center to complete the tongue. Lastly, take some Light Gray clay to make Eyebrows - make him happy, sad, angry; whatever expression you wish! Set aside Bat Head/Face.

Assembling the Halloween BatNow it is time to start assembling the Halloween Bat! First take some Wire or Toothpicks and attach to the base of the Ear, the base of the Witch Hat and top of the Body; this makes the pieces stronger and less likely to break. Take the Body and apply some Sculpey Bake & Bond to the base of the Toothpick or Wire. With the Bat Head in your hand, press it firmly onto the body, making sure the Wire or Toothpick goes into the Head so it attaches to the Body. Then attach the Ear, Witch Hat, Feet and Wings - apply Sculpey Bake & Bond to each one right before you press into place! Next, using your Blade/Knife, cut into the Feet to make toes. Lastly, use the Blade to apply a cut or nick in the ear by cutting a triangular shape out of it.


Witch HatMake both a flattened circular shape and a cone shape using the Trick or Treat Glitter Sculpey III Polymer Clay. Using some Pumpkin Sculpey III Polymer Clay, roll out a thin snake-like tube shape. Then attach all three parts together with Sculpey Bake & Bond. Bend the tip of the Witch Hat to make a curve. Set aside.

Bake and PaintOnce you are done sculpting and happy with your unbaked Halloween Bat, bake it according to the instructions in Step 1. Remove from oven and let cool completely. Once cool you can apply the Bat’s Cheeks - take out your Pink Acrylic Paint and with a Toothpick or small Sculpey Ball Tool dab into the Pink paint and make a small dot under the Eye to make the Cheek. Continue this on the other side. If you are not comfortable with paint, you can always make these details in clay instead. Once your Cheeks are dry, your Halloween Bat is complete!
