
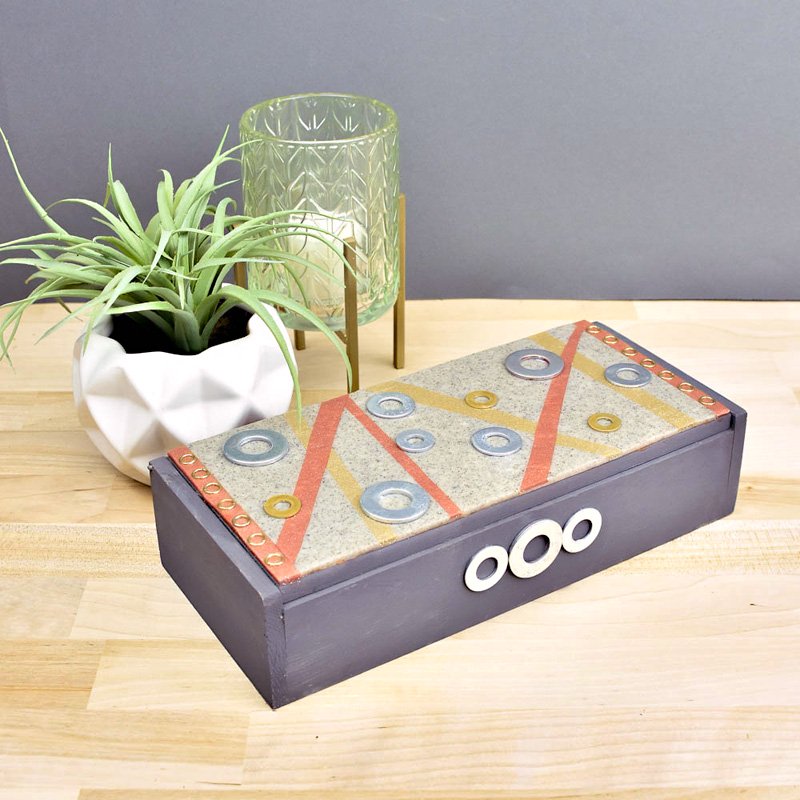
Premo Grey Granite Mixed Media Table Box
Premo Grey Granite Mixed Media Table Box
Designed by Syndee Holt
Read More
Read Less
This mixed media box is perfect to keep all those remotes in!
ADDITIONAL SUPPLIES
- Wooden box (NOTE: Prebake the box to remove moisture and allow to cool
- Selection of metal washers in different sizes
- Large gold jumprings (optional)
- Sheets of plain paper
- Dark grey chalk paint
- Brush
- Instant glue
Project Instructions
- Getting Started:
Start with clean hands, unwrap and knead clay until soft and smooth, or condition by running clay though a Pasta Machine. We recommend using a designated machine for clay purposes only. When working with multiple colors, clean hands with soap and water or baby wipes (we have found that baby wipes work best) before switching colors. Shape clay, pressing pieces firmly together. Wash hands after use.
- Baking:
Sheet out an entire block of conditioned Gray Granite on the second from widest setting on the clay conditioning machine. Trim to the approximate width of the box and select an approximate length as well. NOTE: the length will grow as you add in the other strips of clay. Place the sheet of clay on a sheet of clean paper.

Sheet out the Gold Glitter on the same setting and cut a strip. Cut the granite sheet and insert this strip. Continue adding strips of clay to the sheet.


Place another sheet of clean paper over the top and use the acrylic roller to SLIDE across the paper using small circular motions. This will help seal the seams.

Remove the upper sheet of paper and trim off the long ends of the clays.

Create a very large, thin sheet of the Grey Granite and put this over the top of the sheet, taking care to remove any air bubbles. Use the roller to gently roll this into place.

Place a sheet of paper on top of the stack of clay and invert the clay with the bottom sheet of paper still intact. Carefully peel that bottom (now top sheet) of paper from the laminate. You can repeat step 4 again to help smooth and seal the laminates. IF YOU HAVEN’T ALREADY PAINTED THE BOX DO IT NOW AND ALLOW IT TO DRY!


Trim the edges to the desired size. Once you have fitted the laminate to the box top, carefully invert it again and add some Oven-Bake clay advhesive to the bottom of the laminate. I like to spread it with my fingers to fully cover


Position the laminate and gently lay out your washers to make sure that the pattern will work. NOTE! I take a photo of the layout so I can remember it once the box is baked. Remove the washers and set aside. I decided to add small strips of the Rose Gold to the edges and embed large gold jump rings in the strips


Even though I had pre-baked my box (at 275 degrees for 30 minutes) I still had sap come through the paint. I immediately wipe off as much of it as I can with a baby wipe while is it still liquid (don’t burn yourself with the hot sap!). Allow the box to cool and use a piece of medium sand paper to sand the sap areas. It should just come right off for you. Repaint the box.

Using your photo, carefully glue the washers into place. I also added 3 to the front of the box as well. Add remotes and enjoy!
