
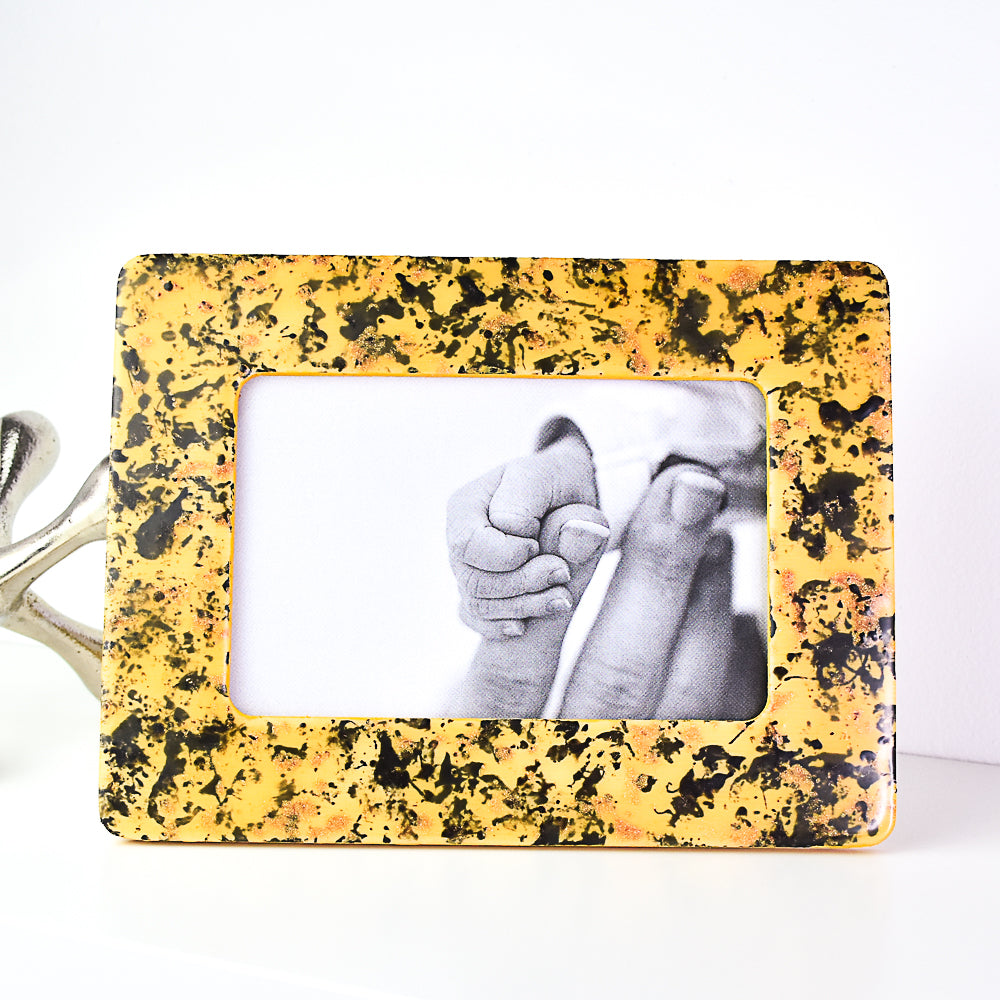
Liquid Sculpey® Splattered Amber Frame
Liquid Sculpey® Splattered Amber Frame
Designed by Amy Koranek
Read More
Read Less
The frame is lovely and simple to make but do set aside some time to enjoy the process. The application of the liquids takes so little time but is done in several layers and each layer requires it’s own curing.
ADDITIONAL SUPPLIES
- Wood frame
- Sandpaper
- Optional - paint similar in color to the Amber Translucent Liquid Sculpey® & paintbrush
- Paper towel
- Scrap paper or deli sheets
- 12” x 12” Aluminum foil (2)
- Heat gun
Project Instructions
- Getting Started:
- Baking:
Sand rough edges from the frame with sandpaper.
First please note that I applied my layers of Liquid Sculpey® (LS) directly to an unpainted wood frame. Pre-painting your frame in a color that is a similar match to the Amber LS color might actually make the color get deeper quicker and might make fewer bakings for you. Just something to consider.
Here’s what I did! First we need to stir the liquids. Remove the caps from the LS colors. Stir each color with one of the tools and clean the tool with paper towel after each color. The Clear LS will have a lump of sediment in the bottom of the bottle. Stir this lump completely into the liquid. Clean the tool with paper towel. Replace the caps to each bottle. Now we are ready for the fun!
Squirt a puddle of Black LS onto a piece of scrap paper or deli paper. Wad up one of the aluminum foil sheets into a loose ball. I chose aluminum foil because it is stiff and makes a totally random surface with both sharp lines and smooth bumps that will really randomize our pattern quite well.

Dip the aluminum foil wad into the Black LS.

Dab the Black LS onto the frame with the foil dabber. Keep dipping into the Black LS and dabbing the frame to achieve a really random pattern all over. Bake the frame following the baking instructions for LS.

Allow the frame to cool completely and then squirt a thick line of Amber LS on the top.

Spread the Amber LS all over the frame with your fingertip or with one of the purple clay

Here is how the frame looks now that it is completely covered with the first layer of Amber LS.

Bake the frame again following the baking instructions for LS. Allow the frame to cool completely. If you are happy with the depth of your Amber color you can skip ahead to Step 11.

You can deepen the Amber color by applying another layer just like you did in Steps 5 & 6.

Bake again following the baking instructions for LS. Allow the frame to cool completely.

Squirt a puddle of Bronze LS onto a piece of paper or deli paper. Make another aluminum foil dabber.

Dab Bronze LS randomly over the frame as shown.

Here’s a close up of how my Bronze LS looks with the Black and Amber LS. Bake the frame again following the baking instructions for LS. Allow to cool completely.

At this point, I wished my Black LS was a deeper color. So I dabbed even more Black LS onto the frame randomly and baked again.

To create a high gloss shine, I added a layer of Clear LS all over the frame. And, you guessed it, I baked it one more time following the baking instructions for LS.

After the final baking I amped up the clarity of the Clear LS with a heat gun. Turn the heat gun onto HI and hold it 4”-6” over the surface of the frame. Continuously move the heat over the surface to avoid burning it. When you see the Clear LS turn completely clear and shiny, turn off the gun. Now your frame is ready for a photo or for a chalkboard.