
Sculpey® Soufflé Twisted and Curved Focal Bead
Sculpey® Soufflé Twisted and Curved Focal Bead
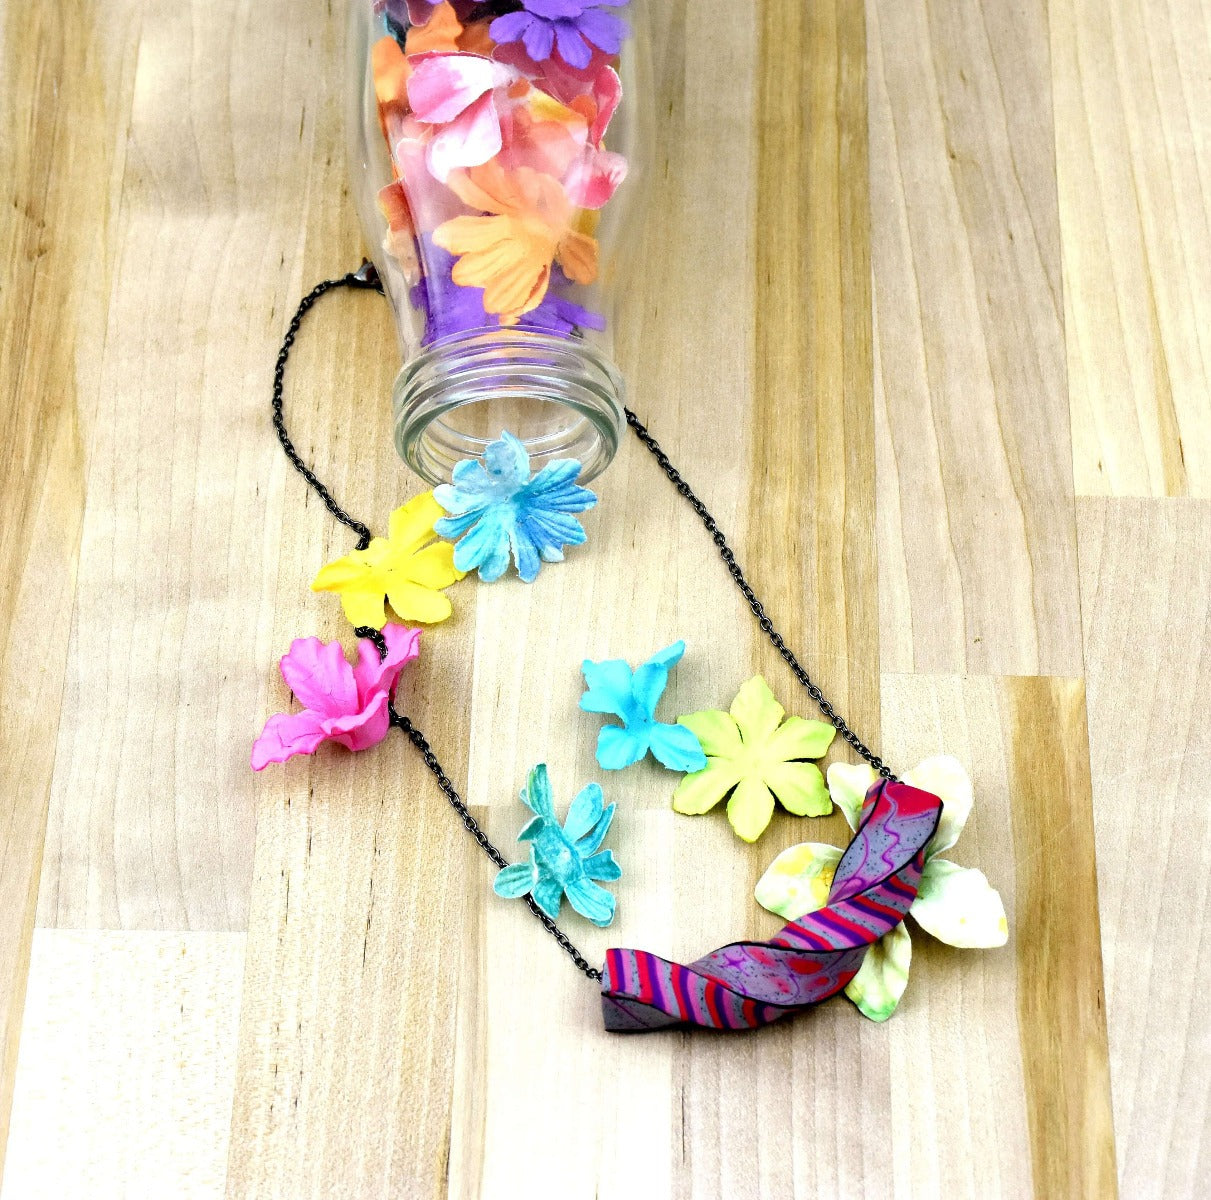
Designed by Amy Koranek
Read More
Read Less
The Twisted Bead is a great way to show off two patterns in coordinating colors. Adding the curve to the bead allows it to be worn neatly at the collar or below. The curve keeps the bead from spinning.
ADDITIONAL SUPPLIES
- Black embossing powder
- Wooden skewer
- Chain
Project Instructions
- Getting Started:
Start with clean hands, unwrap and knead clay until soft and smooth, or condition by running clay though a Pasta Machine. We recommend using a designated machine for clay purposes only. When working with multiple colors, clean hands with soap and water or baby wipes (we have found that baby wipes work best) before switching colors. Shape clay, pressing pieces firmly together. Wash hands after use.
- Baking:
Condition 1/2 block of each color. As you condition the Concrete, add small amounts of black embossing powder so that it has a nice fleck. Sheet each color through the pasta machine on the thickest setting. You will need equal amounts of each color. I’m using a 3X3 square of each.

Stack the colors as shown. Roll over the stack with the clay roller to thin it before pressing it through the pasta machine.

Press the stack through the pasta machine on the thickest setting. Cut the pressed sheet into four equal sections.

Pile the sections up and roll over them with the clay roller to seal them together and press out air bubbles. With the Super Slicer, slice off a few pieces perpendicular to the stripes and set them aside for later.

Pile the sections up and roll over them with the clay roller to seal them together and press out air bubbles. With the Super Slicer, slice off a few pieces perpendicular to the stripes and set them aside for later.

Next, press the smallest circle cutter all the way through the stack around each Phillips mark. If the circles remove from the clay you can either cut a little less deep or carefully remove them from the circle cutter and put them back into place.

Cut a wave line with the Sculpey wavy blade on either side of the circles. Add a pattern of straight lines going out from the wave line with a needle tool. Be careful not to bend your needle tool as you are pressing in the lines.

Roll over the stack with the clay roller to heal up the cuts. If you want your slices to have a slightly open look, stop rolling before all the cuts are healed. The rolling pressure will help the clay stick to your work surface making the slicing step that comes next easier. I rolled my stack until it was just a little thicker than 1/8” thick. Carefully slice through the top surface parallel to the stripes in the stack removing a very thin layer of clay. When the slice is removed the pattern inside will be revealed

Continue slicing to reveal the entire pattern. Roll over the pattern one more time to make sure it is even and smooth with the clay roller. My patterned sheet is around 1/8” thick now.

Cut the stack in half right down the middle. I chose this cutting because I wanted two sides of my twisted bead to have a section of the pattern running across it in an angled arrangement.

Sheet Grape through the pasta machine on the thickest setting. Cut a strip about 3/8” wide from the Grape. Cut a strip of the pattern piece also about 3/8” wide and place it on top of the Grape strip.

Trim through the pattern/Grape pieces to a size that is close to your finished bead size. My pieces are 3/8” wide and about 2.5” long. Position the trimmed pattern/Grape piece on top of the back of the other half of the patterned piece.

Trim the patterned piece on the bottom to match the patterned piece on the top. You should have a patterned piece on top, Grape piece in the middle (for filler), and another patterned piece on the bottom. When you flip the piece over, you should be able to see the pattern again on the back piece.

This is how the bead looks from the side: patterned piece (pattern facing out) on top, Grape in the middle, and patterned piece (pattern facing out) on the bottom. Set the bead aside for now.

Take the striped pieces we removed in Step 5. Press them through the pasta machine to the third thickest setting. Feed them in short ends first so that the stripes get longer not wider.

Sheet Black through the pasta machine to the fourth thickest setting or even thinner if you like. The Black will create a very thin stripe that will be visible on the edges of the finished bead so you want it to be thin and neat. Mount the stripes in rows across the Black sheet laying the stripes as close together as possible. Trim the ends so you have a nice striped sheet.

Press the stripes/Black sheet through the pasta machine to the third thickest setting feeding the ends of the stripes in first to thin it even more. Lay the striped sheet next to the bead and trim a straight edge across the stripes.

Cut two pieces across the stripes and mount them to the sides of the bead covering up the layers in the middle of the focal bead. Trim the sides and ends of the bead.

To drill the hole in a very large bead like this one, I use a wooden skewer. The wooden skewer is easier to keep drilling through the raw bead because the tiny ridges on it keep the clay from sticking to it. Start at one end and very carefully push the pointed end of the skewer into the bead using a drilling motion.

Once the skewer goes into the bead, lay the bead on the work surface and carefully keep drilling the skewer all the way through. I sandwich the bead between the work surface and my hand while “drilling” the skewer through, trying to keep the bead as neat and square as possible during the process.

Carefully remove the skewer using a reverse drilling motion. If you need a larger hole to accommodate the chain going through the bead, make the hold bigger by re-drilling it with one of the Etch ‘n Pearls. Just make sure the hole will be large enough to string your chain through it. Even if you don’t need a larger hole, replace the wooden skewer with an Etch ‘n Pearl at this point. Place the bead with the Etch ‘n Pearl inside on top of something very flat like the side of a blade. Use fingertip pressure to make sure each side of the bead is still very flat. Turn the bead onto each side and examine it for flat surfaces and neat corners.

With the bead on the Etch ‘n Pearl, carefully grasp each end of the bead with thumb and fingers and gently twist the entire bead.

Twist as much as you would like. When you’re done twisting, check one more time to make sure the corners are all as neat as possible. String the chain through the bead.

Holding the chain on both sides of the bead, and with the bead laying on the work surface, slowly pull the chain into a curve causing the bead to curve along with it.

Remove a rack from your preheated oven and allow it to cool completely. Attach the chain in a loose knot through the bars of the rack allowing the bead to hang freely. Place the rack back in the pre-heated oven and bake the bead following the baking instructions.

Allow the bead to cool completely in this position. Finish off the chain with a clasp and to your desired length.
