
Sculpey III® Stacked Necklace
Sculpey III® Stacked Necklace
Designed by Amy Koranek
Read More
Read Less
Create a dynamic pendant to wear on a long chain in just an hour, using glittering Sculpey III® clays.
COMPLETION TIME: 60 Minutes to make and bake
ADDITIONAL SUPPLIES
- Scrap paper (2 small pieces)
- 8 mm Gold tone jump rings (4)
- 30” Tan faux suede cord
- Flat nose pliers

Project Instructions
- Getting Started:
Start with clean hands, unwrap and knead clay until soft and smooth, or condition by running clay though a Pasta Machine. We recommend using a designated machine for clay purposes only. When working with multiple colors, clean hands with soap and water or baby wipes (we have found that baby wipes work best) before switching colors. Shape clay, pressing pieces firmly together. Wash hands after use.
- Baking:
A bar of Sculpey III® is divided into four equal sections - I call each section a stick. Use the clays in these proportions: 1/8 stick of each Jewelry Gold, Princess Pearl, and Pearl; and 1/4 stick of each Garnet Glitter and Violet Glitter.
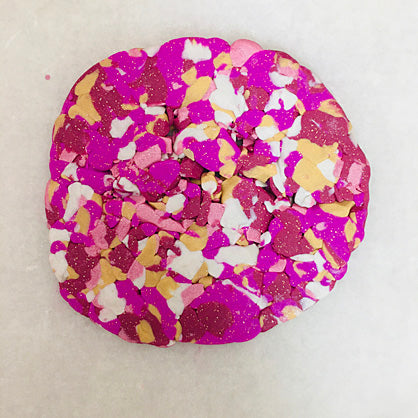
Chop the pieces of clay described above into little bits with the Clay Blade. This is best kept organized if you chop up the clay on a piece of paper. Form the chopped pieces into an even layer and shape them into a loosely grouped circle.
Chop the pieces of clay described above into little bits with the Clay Blade. This is best kept organized if you chop up the clay on a piece of paper. Form the chopped pieces into an even layer and shape them into a loosely grouped circle.

Place another piece of paper over the top of the clay chips. Roll over the paper and the chips below it with the Acrylic Clay Roller to flatten it and to connect the chips to each other.

Remove the paper from the top. If there are gaps in the center of the clay patty, you can compress these closed with your fingertips.

You can also push the patty around the edges with your fingertips making the patty more uniform.
Roll over both sides of the patty with the Acrylic Clay Roller to make sure it is really smooth on both sides.

Cut out pieces from the patterned clay and also from sheets of the solid Violet Glitter and the Garnet Glitter clays. When you make sheets of the solid colors, make sure they are comparable in thickness to the patterned clay.

Audition your clay pieces to see how you like them best. When you have decided, line them up and poke holes in them with the Needle Tool so that they can be assembled with jump rings once they are cured.

Bake the pieces following the baking instructions for Sculpey III®.
When they are completely cool, assemble with jump rings and add the faux suede cord as shown.
When they are completely cool, assemble with jump rings and add the faux suede cord as shown.
