
Liquid Sculpey Modern Striped Pendants
Liquid Sculpey Modern Striped Pendants
Designed by Anke Humpert
Read More
Read Less
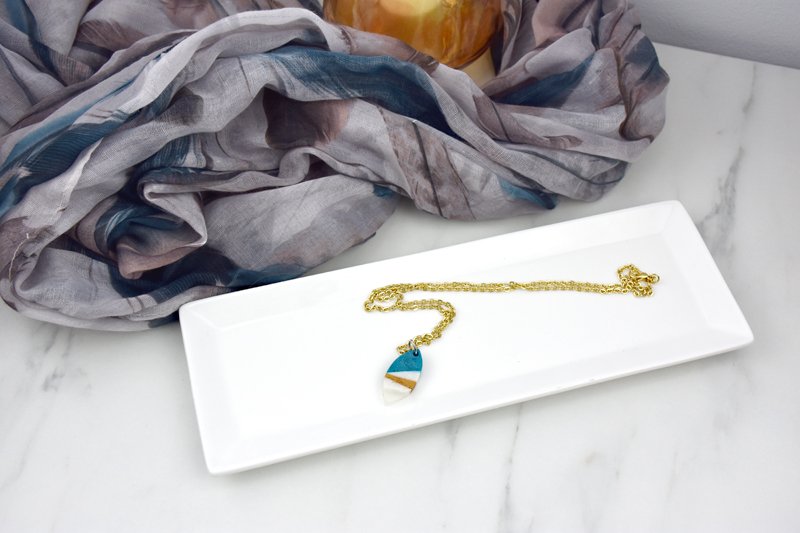
Make modern stripy pendants with Liquid Sculpey and the Sculpey Silicone Jewelry Mold. They are easy and quick to make so you can make some for your friends as well!
ADDITIONAL SUPPLIES
- Paper towels
- Jewelry pliers
- Jump rings
- Chain
- Findings for the necklace
- Optional: glitter, seed beads or little metal trinkets
Project Instructions
- Getting Started:
- Baking:

Use your blade and cut the piece in stripes or rectangles, going from one side to the other. Cut as many pieces as you like

Place the cured pieces back into the mold, skipping every second stripe or rectangle. TIP: I find it easier to use the top piece with the hanging hole again instead of refilling it

Use one or more of your other liquid clay colors and refill all the open spaces. Be careful not to have the clay overflow and cover the already baked pieces!

Optional: if using clear liquid clay you can also use glitter, seed beads and or tiny trinkets and drop them in the clear clay. Be careful to only use pieces that can be cured with the clay! Bake according to the directions in Step 1.

Try out different combinations of stripes and colors. If you make two pieces that look the same you can also use then for earrings or pendants for friends!

Another option is to fill the mold about half way with clear liquid clay and then add stripes of other clay colors on top. You can use your needle tool to manipulate the stripes and make little swirls in them! Bake according to the directions in Step 1.

Add a jump ring to the top of your finished pendant and hang it from a necklace. You can make more and change them as you wish.
