
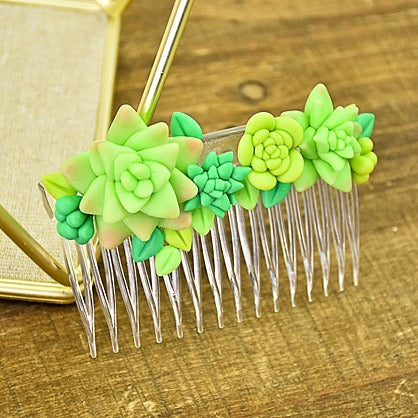
Sculpey Air-Dry™ Porcelain Faux Succulent Hair Comb
Sculpey Air-Dry™ Porcelain Faux Succulent Hair Comb
Designed by Rachel Hateley
Read More
Read Less
Create realistic succulents and flower buds with Sculpey Air-Dry™ and attach to a plain hair comb to create a miniature garden for your hair.
ADDITIONAL SUPPLIES
- Acrylic paint
- Chalk pastels
- Paint brushes
- Super glue
- Hair comb
Project Instructions
- Getting Started:
Start with clean hands, unwrap and knead clay until soft and smooth. Wash hands after use. Wrap any extra clay in then wrapper and then put in an air tight container.
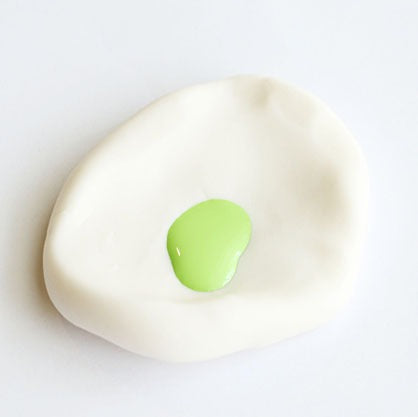
Make about a 1.5 inch ball of the clay and mix in some green acrylic paint to add colour.

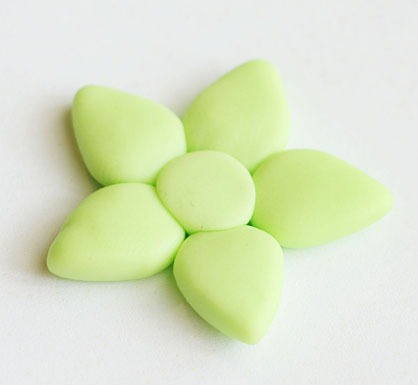
To make a succulent, split the clay and roll it into a number of smaller balls increasing in size.

For each of the leaves on the succulent, create a teardrop shape by flattening the ball and pinching one side with your fingers.

Begin adding the five largest leaves together. Also add in some additional clay to the centre to fill in the hole.

Position on the next five leaves so that they are in-between the larger ones. Press down in the centre with a ball tool to create a crevice.

Take the three smallest leaves and bunch them together. Add the next three bigger leaves around these, and finally the four larger ones around the outside.

Position this bunch of leaves in the crevice we previously created.

Using a red chalk pastel and a fluffy paint brush, lightly dust the pastel powder onto the tips of the leaves for extra detail. Add more on the largest leaves and less on the smaller. Allow the clay to harden.

To create this design of succulent follow the same process, except with the points facing inwards and the rounded edge showing. Optionally, you can also add some shading on the tips of the leaves. Allow the clay to harden.

To make some little bunches perfect for filling space, go ahead and shape some little teardrops and position the points of these together. You can mix different shades and amounts of green acrylic paint into the clay to add some variety. Allow the clay to harden.


Create some different shades of leaves, also perfect for space filling. Shape small balls of clay into teardrops and then add an indent down the centre using a needle tool. Allow the clay to harden.

Take a hair comb and some super glue to begin adding on the clay succulents. Start by positioning on the larger designs. You may need to hold each succulent down firmly while allowing the glue to dry.

Finish off the design by also gluing on the filler succulents and leaves. Add these where there are any gaps or where you would like to create extra detail and emphasis.

- Choosing a selection results in a full page refresh.
- Opens in a new window.