
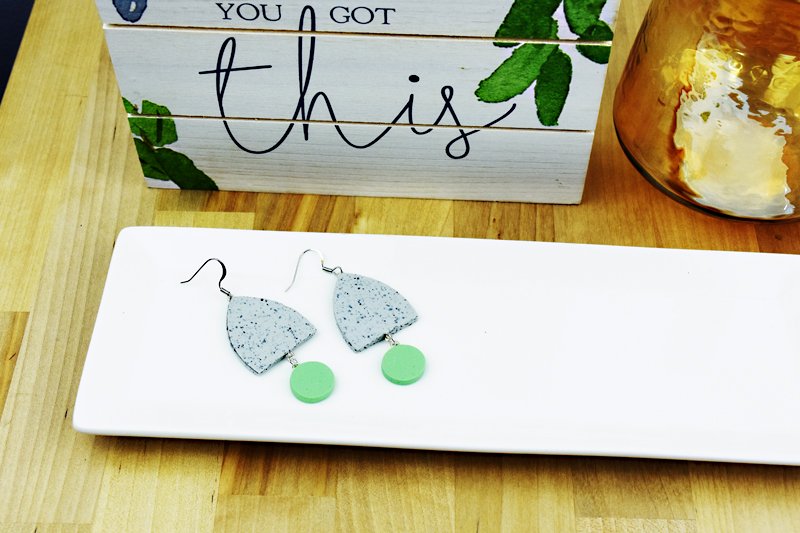
Sculpey Original® Granite Modern Drop Earrings
Sculpey Original® Granite Modern Drop Earrings
Design by Gretchen Amberg
Read More
Read Less
Sculpey Original Granite teams up with Sculpey III String Bean to create a beautiful pair of modern drop earrings. Original Granite is a perfect balance to any other color you wish to pair it with.
ADDITIONAL SUPPLIES
- Silver Wire
- Round Nose Pliers
- Wire Cutters
- Paper
- Pencil
- Protractor
Project Instructions
- Getting Started:
Start with clean hands, unwrap and knead clay until soft and smooth, or condition by running clay though a Pasta Machine. We recommend using a designated machine for clay purposes only. When working with multiple colors, clean hands with soap and water or baby wipes (we have found that baby wipes work best) before switching colors. Shape clay, pressing pieces firmly together. Wash hands after use.
- Baking:
Cut a piece of silver wire that is a little over 1” long. Use the small round nose pliers to curl the end of the wire into a loop so you have an eye-pin. Use the round nose pliers to bend a hook under the “eye” of the pin. Use the wire cutters to cut away the excess. Hammer the hook of the wire so it is flat. Repeat this process until you have made 6 hooked eye-pins.

For this project you will need a small amount out of the package of the Granite Original Sculpey. A good amount to remove from the package is an amount that is about the same as 3/4 block worth of the 2 oz block of String Bean Sculpey III. Condition the Granite clay and roll out a sheet of clay on a thin setting on the Clay Conditioning Machine. Set the sheet of clay to the side.
Place a piece of paper onto your work surface. Use the protractor to draw one line that is at least 4” long. Position the protractor over this line so the straight edge of the protractor is set to a 90 degrees position across the drawn line. Use the pencil to draw along the flat edge of the protractor. The resulting crossing lines should be at 90 degrees to each other.

Use the ruler edge of the protractor to measure up 1-1/4” from the intersection of the lines. Make a mark on the line where the 1-1/4” measurement is.

Place your thin sheet of Granite clay onto your work surface. Use the football shaped cutter to cut out four footballs. Pick up one of the footballs of clay. Place the piece of clay so that the point at one end of the football shape is on the line with the very point touching the 1-1/4” mark you made in Step 5. Make sure the point at the other end of the football is also on the drawn line. The goal is to have the football centered over the vertical line with the point on one end touching the 1-1/4” mark.

Pick up your clay blade. While looking straight down over the piece of paper, line the edge of the blade directly over the horizontal line which runs under the clay. Cut straight down through the clay and remove the smaller piece of clay. Leave the larger piece of clay in place on the paper.

Pick up the Needle Tool. Position the end of the Needle Tool so it is where the vertical line meets the straight cut edge of the piece of clay. Make a small indentation in the clay. Note: This is mark is the center of the cut edge and will be your reference for adding an eye-pin later. Lift the piece of clay off of the work surface and set to the side. Repeat this process with the remaining three football clay pieces.

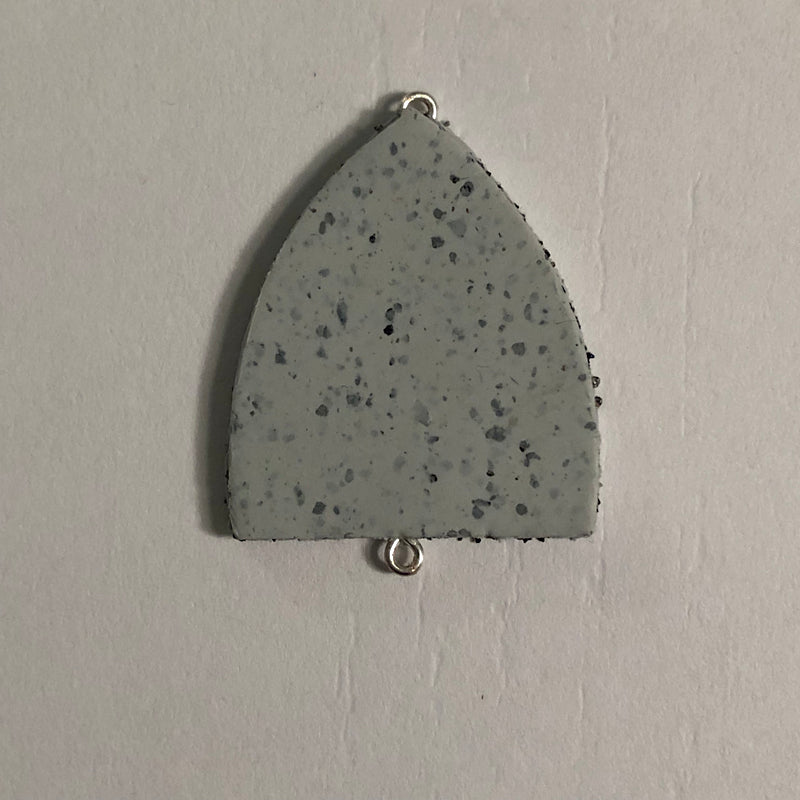
Place one of the trimmed football pieces on the work surface. Pick up one of the hooked eye-pins made in Step 1. Place the eye-pin so the stem of the eye is in the small indentation in the center of the straight cut edge of the clay. Make sure the eye of the pin is above the edge of the clay so the hole in the eye is not blocked. Once the eye-pin is in position lightly press it into the clay.

Pick up another hooked eye-pin and position it at the pointed end of the trimmed football. Place the eye-pin so the stem of the eye is right over the point. Make sure the eye of the pin is above the edge of the clay so the hole in the eye is not blocked. Once the eye-pin is in position lightly press it into the clay.

Add a small drop of Bake ‘n Bond over each of the hooked eye-pins. Pick up another trimmed football piece of clay. Place it on top of the piece of clay which has the eye-pins embedded so that the eye-pins are sandwiched between the two pieces of clay. Make sure the edges all meet and then use your fingertips to lightly blend the edge. Repeat this process with the remaining two trimmed football pieces.

Add a couple of pea size bits of String Bean clay to the White clay. Condition the two colors together until you have a solid color, no streaks. The color of the clay can be adjusted by adding more of the White or String Bean color clay. Roll out a thin sheet of clay using the same setting on which the Granite was rolled. Cut out four 5/8” circles.Place one of the 5/8” circles on the work surface. Pick up one of the hooked eye-pins made in Step 1. Place the eye-pin onto the clay circle. Make sure the eye of the pin is past the edge of the clay so the hole in the eye is not blocked. Once the eye-pin is in position lightly press it into the clay. Add a small drop of Bake ‘n Bond over the hooked eye-pin.

Pick up another 5/8” circle of clay. Place it on top of the piece of clay which has the eye-pin embedded so that the eye-pin is sandwiched between the two pieces of clay. Make sure the edges all meet and then use your fingertips to lightly blend the edge. Repeat this process with the remaining two 5/8” circles of clay.

Bake the two trimmed football and 2 circle clay assemblies as directed in Step 1 and let cool completely.
Pick up one of the jump rings and open the loop. Note: To keep the jump ring shape from distorting and so that the ring also closes well open the jump ring using a side-to-side twisting motion. Slide one of the green circle assemblies onto the jump ring. Pick up one of the trimmed football assemblies and slide the loop on the straight edge of the football onto the jump ring. Close the jump ring. Repeat for the other earring.

Attach the ear wires to the loops at the pointed end of the trimmed football shapes and you’re finished.
