
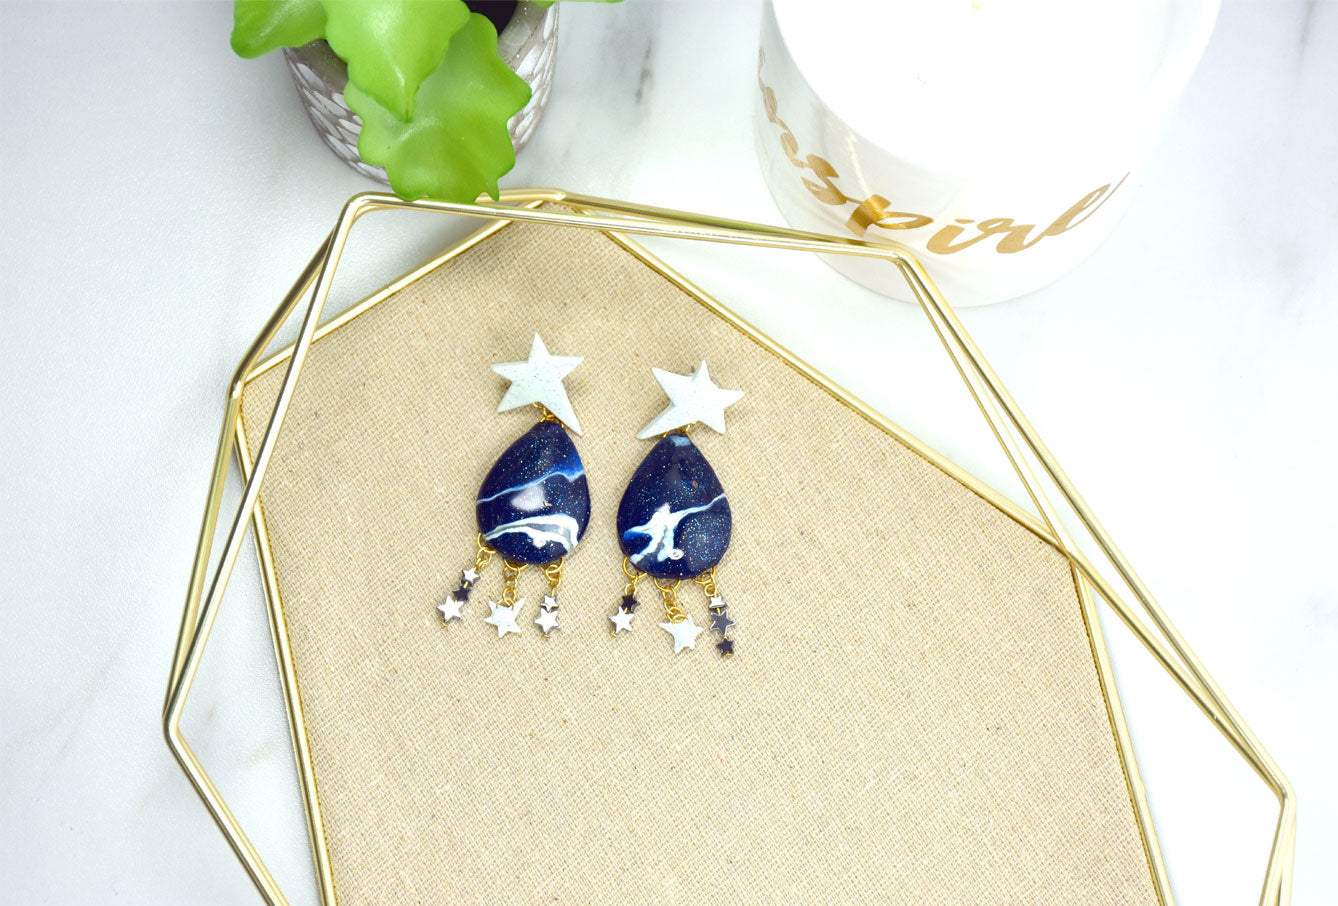
Premo™ Galaxy Milky Way Dangles
Premo™ Galaxy Milky Way Dangles
Read More
Read Less
This combination of Galaxy Glitter, Opal, and Frost White Glitter makes the perfect palette for mixing up your own view of the Milky Way.
ADDITIONAL SUPPLIES
- Paintbrush
- 6mm Gold tone jump rings (10)
- 4mm Gold tone jump rings (14)
- 1” Gold tone head pins (4)
- Little metal star beads (4)
- Tiny metal star beads (6)
- 6mm Ear posts and backs (2)
- Silicone glue or super glue gel
- Round nose jewelry pliers
- Flat nose jewelry pliers
Project Instructions
- Getting Started:
Start with clean hands, unwrap and knead clay until soft and smooth, or condition by running clay though a Pasta Machine. We recommend using a designated machine for clay purposes only. When working with multiple colors, clean hands with soap and water or baby wipes (we have found that baby wipes work best) before switching colors. Shape clay, pressing pieces firmly together. Wash hands after use.
- Baking:
From 1/4 bar of Galaxy Glitter, roll a short fat rope. Smash a little rope of Opal clay flat and press it to the side of the Galaxy Glitter rope.

Roll two very thin ropes of Frost White Glitter. Smash these to either side of the Opal stripe.

Roll the log a little thinner and twist it gently just a bit.

Compress the log by pushing the ends with the palms of your hands. The log should get fatter. Repeat rolling the log thinner and then pushing it thicker. Keep doing this rolling and pushing until the stripes get mottled and blurry. Don’t allow the colors to twist more because we are going for a very thin stripe across the log not a twisted rope.

Take enough clay from the blended rope and fill the largest teardrop shape in the Cabochon Mold.

Add a little more clay to the back so that the cab shape is overfilled. Add four 6mm jump rings as shown - one at the top and three across the bottom.

Push the extra clay around to embed the jump rings in the back of the cab. Make sure the jump rings extend cleanly past the edges of the cab because this is how we will attach the other parts to make them dangly. Bake the clay in the cabochon mold following the baking instructions in Step 1.

When the mold is completely cool gently flex it to remove the piece. Repeat Steps 6-8 to make a second matching piece. Carefully spread a very thin layer of Sculpey® Clear Glossy Glaze to the teardrops and allow to dry completely.

Press Frost White Glitter into the large star shape in the Boho Chic Mold. Place a 6mm jump ring that extends past the body of the star as shown. Hold the jump ring in place with a bit of clay. Bake the clay filled mold following the baking instructions for Premo! When the mold is completely cool gently flex it to remove the piece. Repeat this step to make a second matching piece.

Press Frost White Glitter into the small star shape in the Boho Chic Mold. Place a 4mm jump ring that extends past the body of the star as shown. Hold the jump ring in place with a bit of clay. Bake the clay filled mold following the baking instructions in Step 1. When the mold is completely cool gently flex it to remove the piece. Repeat this step to make a second matching piece.

Attach the large stars to the tops of the teardrops with a 4mm jump ring. Make little strands of metal stars by threading the metal star beads onto head pins. Curl loops in the head pins above the stars. Attach to the bottom of the teardrop shapes with 4mm jump rings. Connect the small white stars to a chain of 4mm jump rings and attach to the bottom center of the teardrop shape as shown. Glue ear posts to the back of the large stars. Allow the glue to dry completely.
