
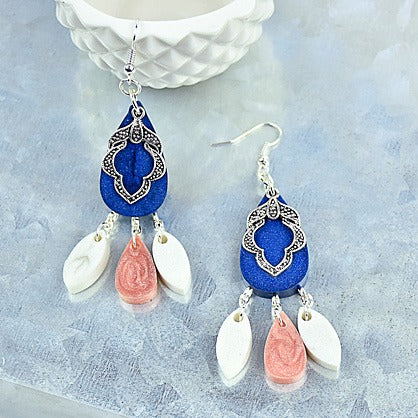
Liquid Sculpey® Metallic Navy, Rose Gold and Pearl Earrings
Liquid Sculpey® Metallic Navy, Rose Gold and Pearl Earrings
Design by Teresa Pandora Salgado
Read More
Read Less
Liquid Sculpey® classic metallic colors team up to create these spectacular earrings that will become a staple in your wardrobe – or some lucky friend’s wardrobe. Don't wear earrings? This design would make a wonderful pendant as well!
TIME TO COMPLETION: 70 minutes including baking
ADDITIONAL SUPPLIES
- 8 small jump rings
- 8 medium jump rings
- 6 eye screws
- 2 ear wires
- 2 open bezels
- Jewelry pliers
- Superglue
Project Instructions
- Getting Started:
- Baking:
Pour Navy Metallic into the larger teardrop mold, Rose Gold into the small teardrop mold and Pearl into the leaf shape. Bake for 30 minutes at 300f. Repeat for a second set.

Pierce 3 holes along the bottom of the large teardrops. (I used the piercing tool from the Sculpey Bead Making Kit.)

Add 3 eye screws evenly spaced along the bottom of the large teardrop. Add bezel to the front of the navy teardrop. I placed mine over the hole in the teardrop, then I secured it with a small amount of Superglue. Allow to dry.

Assemble as shown. Brava!

- Choosing a selection results in a full page refresh.
- Opens in a new window.