
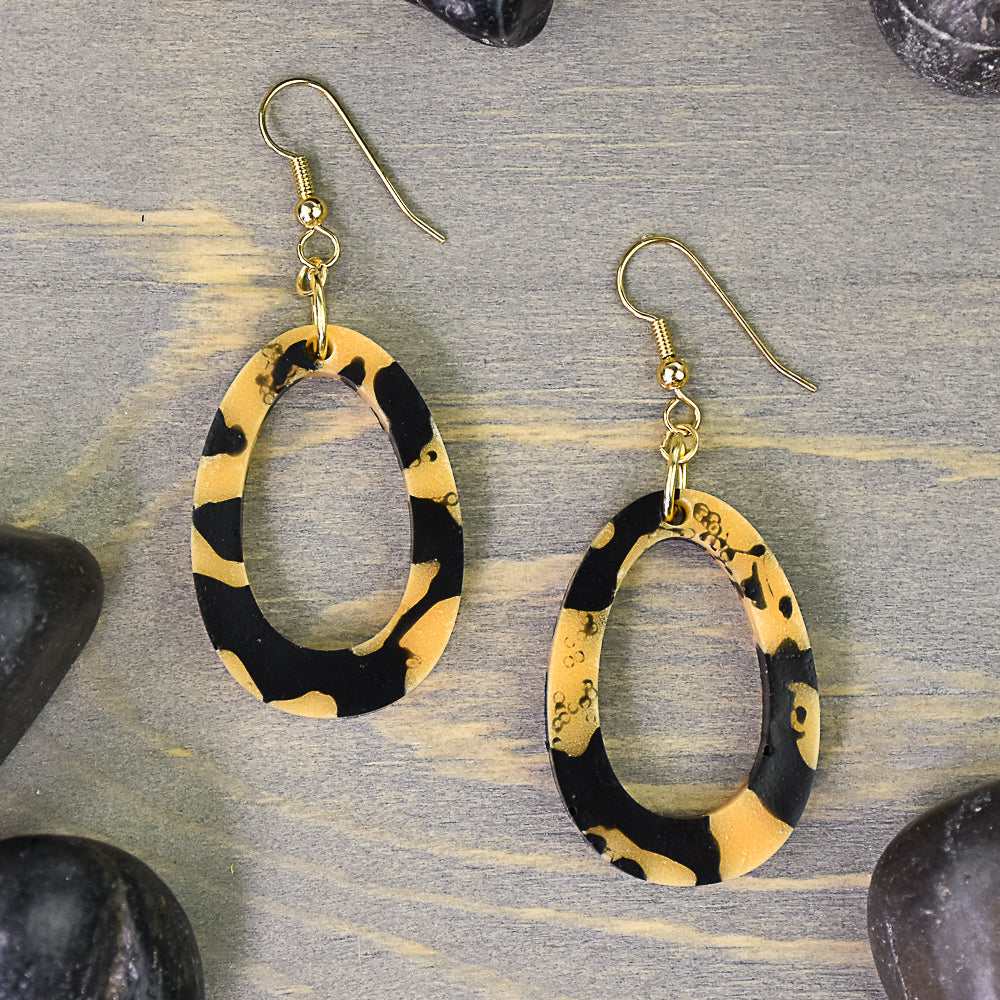
Liquid Sculpey® Hoops of Amber Earrings
Liquid Sculpey® Hoops of Amber Earrings
Designed by Amy Koranek
Read More
Read Less
Create a timeless look with Amber and Black together in a classy oval shape.
TIME TO COMPLETE:90 Minutes to make and bake
ADDITIONAL SUPPLIES
- Paper towel
- 8 mm Gold tone jump rings (2)
- Gold tone ear wires (2)
- Heat gun
- Flat nose jewelry pliers
Project Instructions
- Getting Started:
- Baking:
Open each bottle of Liquid Sculpey® (LS) and stir each color with one of the tools. Clean the tools with paper towel after each color. Replace the caps on the bottles of LS.
First drip little drops of Black LS into the bottom of the open oval shape in the Silicone Jewelry Mold. Make sure the drips are very random, uneven in size and shape, and leave spaces between them for the Amber to show through.
First drip little drops of Black LS into the bottom of the open oval shape in the Silicone Jewelry Mold. Make sure the drips are very random, uneven in size and shape, and leave spaces between them for the Amber to show through.

Back fill the shape with Translucent Amber LS until it is filled flush to the surface. Very carefully, tap the mold on the work surface to release air bubbles.

Bake the mold following the baking instructions for LS. When the mold is completely cool, flex it gently to release the oval shape.
Repeat Steps 2-4 to make a second oval shape.
Repeat Steps 2-4 to make a second oval shape.

Trim away any little excess drips from the edges of the ovals to make sure they are nice and neat. Trim with sharp scissors or a craft knife.

If you like, you can use a heat gun to make the Amber color deeper. Turn the heat gun on HI. Wave the heat back and forth or in circles over the pieces at a distance of 4”-6”. When the color goes darker and the surface turns shiny, turn off the heat.

Finish each piece with ear wires attaching them with jump rings.
