
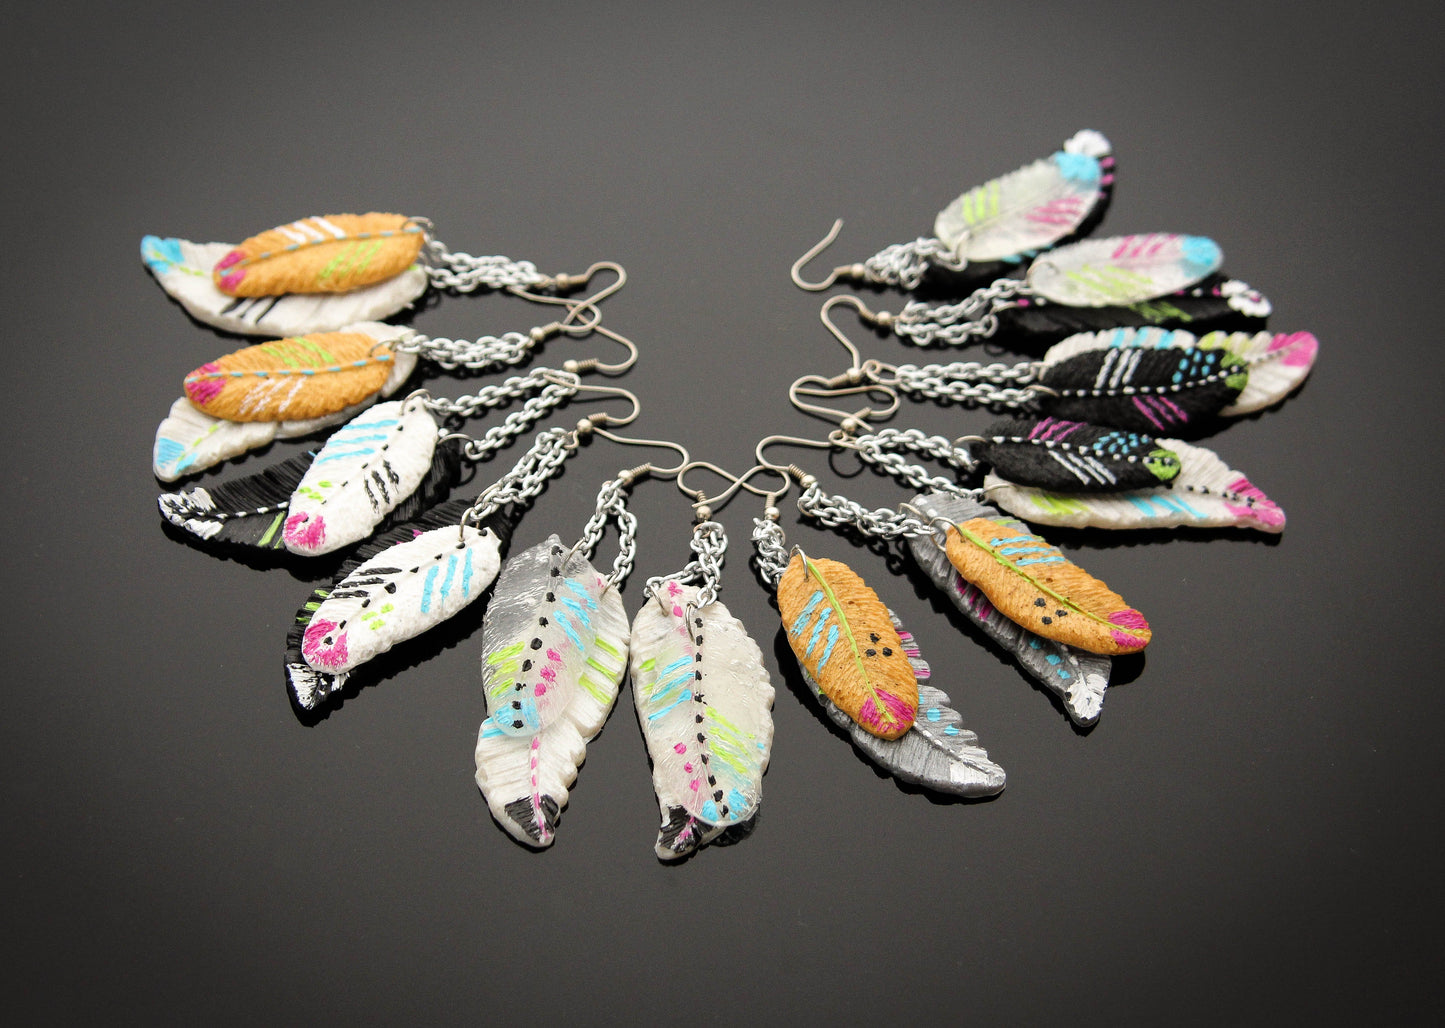
Liquid Sculpey® Colorful Feather Earrings
Liquid Sculpey® Colorful Feather Earrings
Read More
Read Less
These earrings are great for a casual or party outfit, so why not make a couple of them and give them to your friends as gifts!
ADDITIONAL SUPPLIES
- Smooth even work surface, like a tile or a sheet of glass
- Feather silicone mold
- One skewer or tooth pick
- Small scissors
- Acrylic paint, suggested: 3 bright colors (I used: medium magenta, light blue and brilliant yellow green.) and black and white.
- Small paint brush with soft bristles
- Paper towels, water in a jar and a piece of white card stock as mixing palette
- Jewellery pliers
- 2 earring hooks,
- 4 jump rings
- Small jewellery chain ( 4 inch/ 10 cm long)
Project Instructions
- Getting Started:
- Baking:
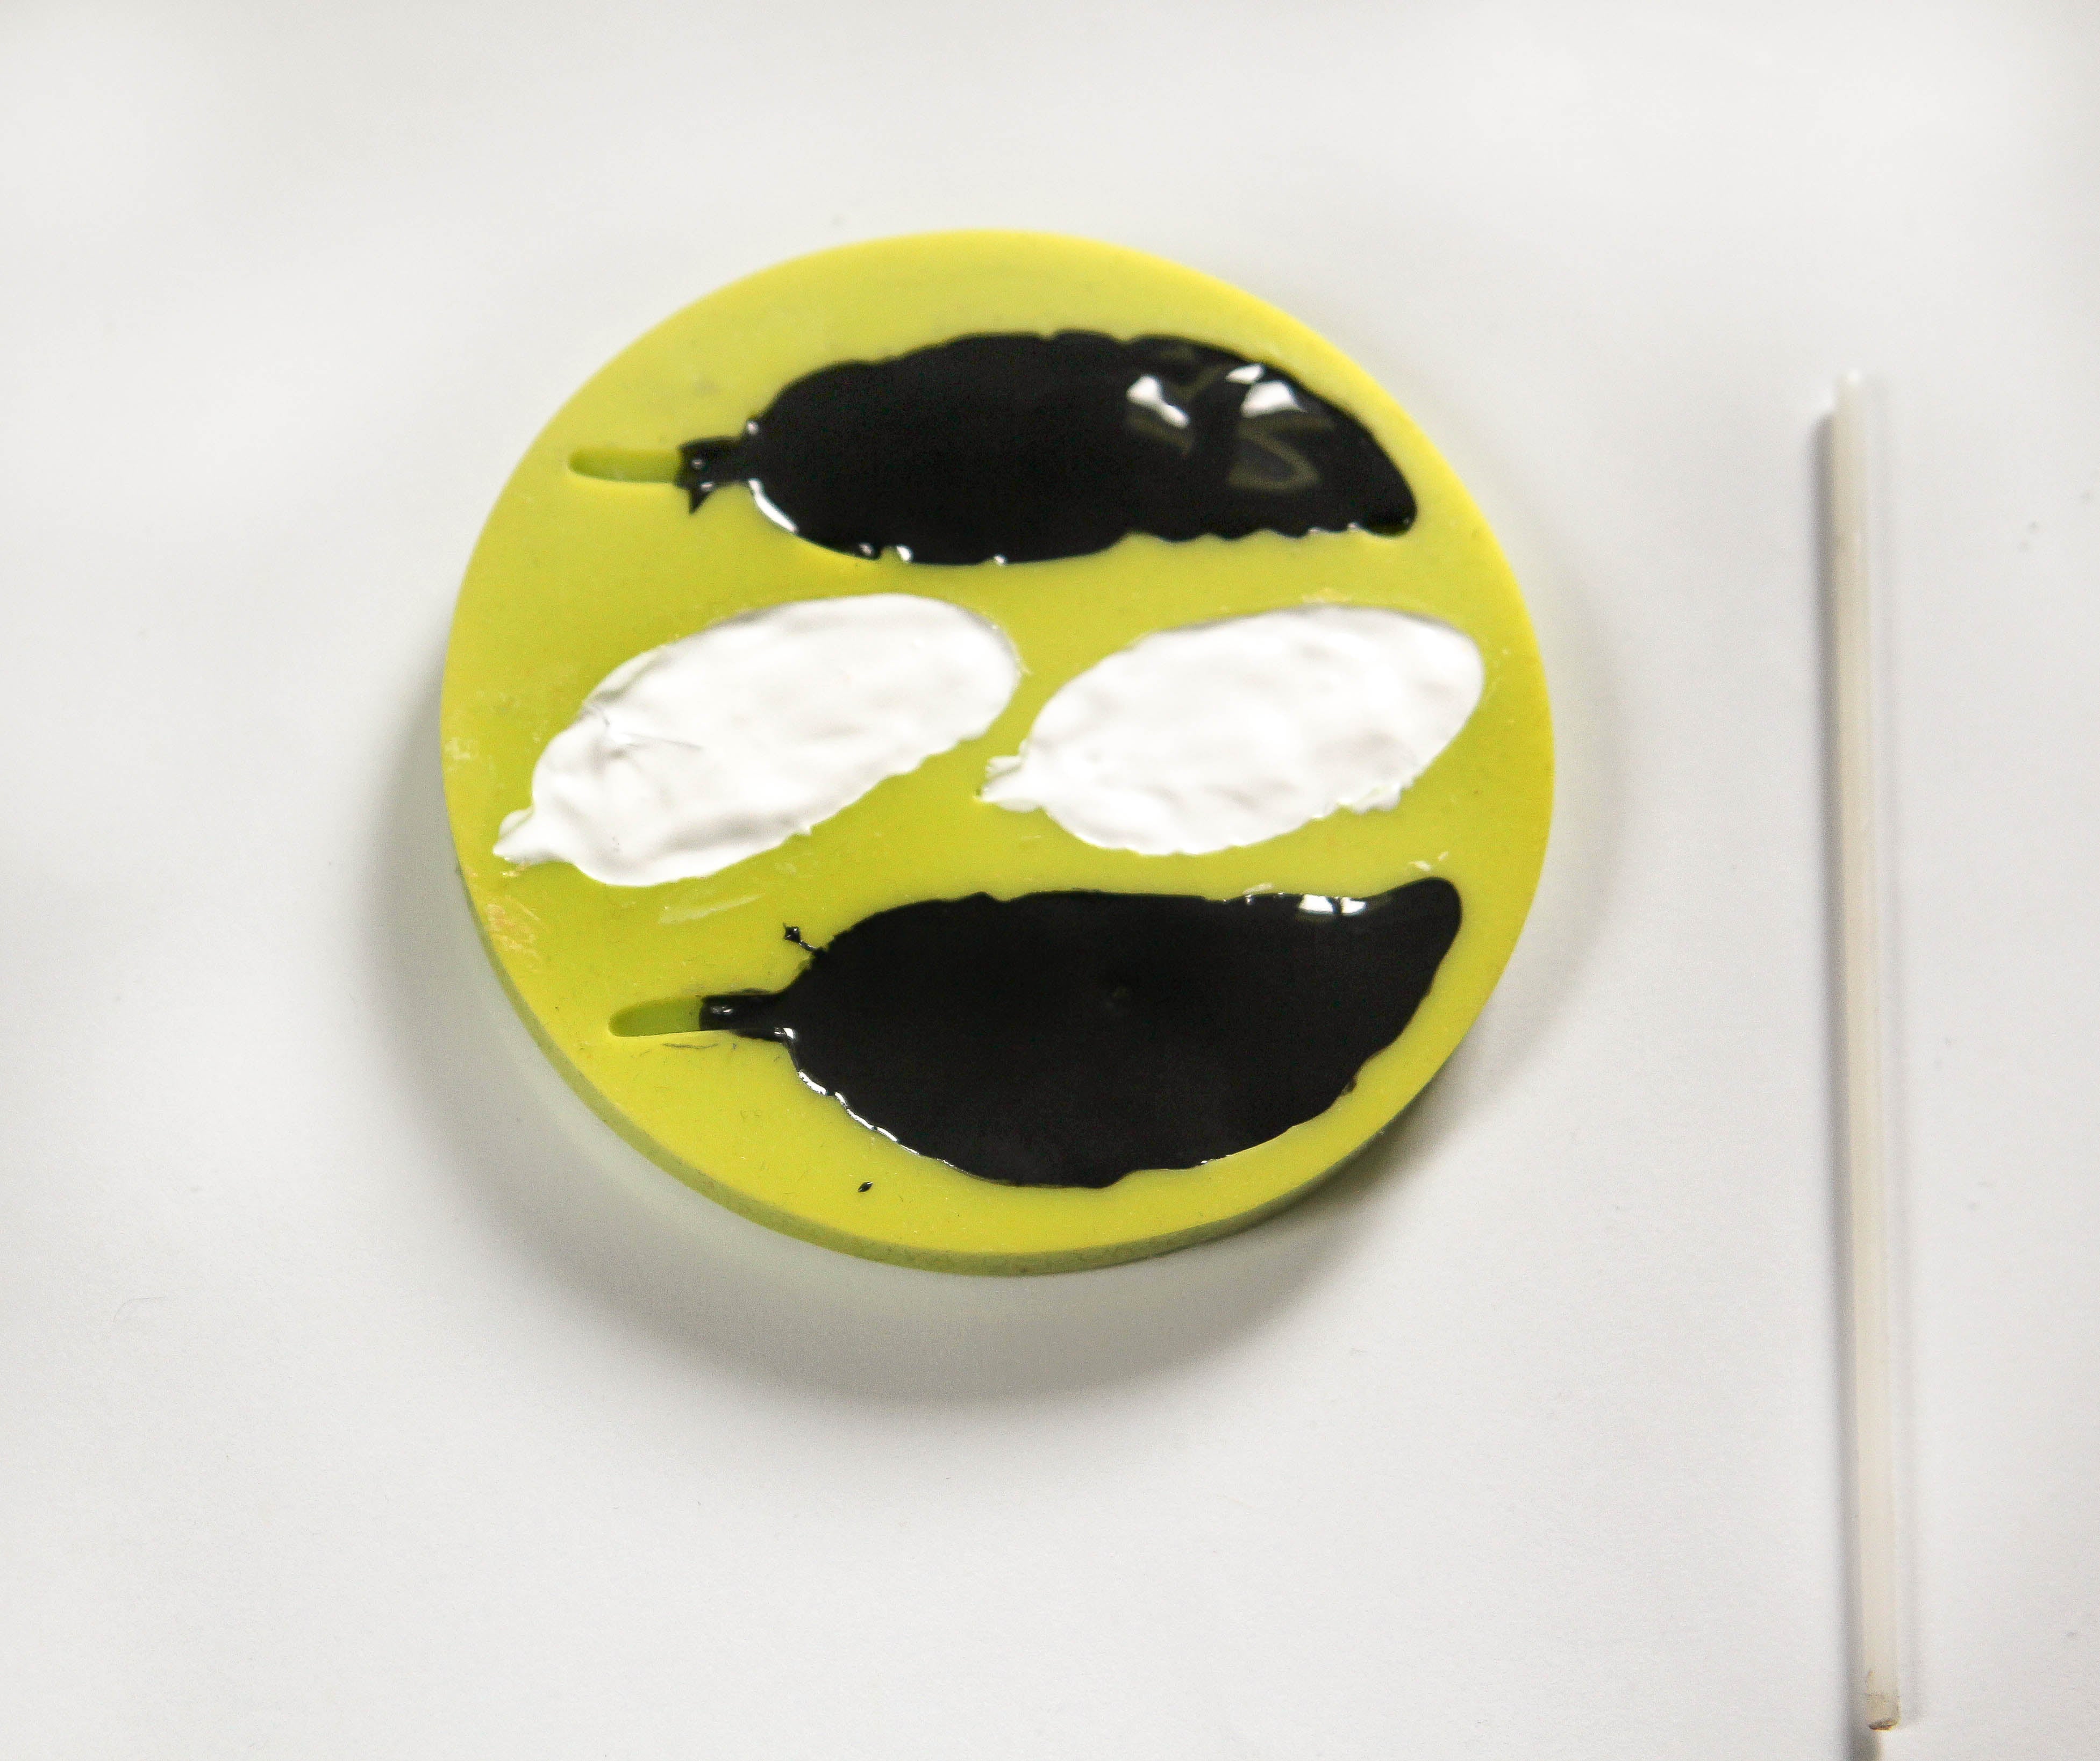
Collect all your material and lay it on your work surface. We will start with the mold and the liquid bakeable clay.

I used a feather silicone mold. They are originally sugar molds and are widely available on line or in your local craft store in the baking section. If you can not find feather molds you can also use other shapes: leaves, ribbons, ornaments or any other long narrow shape you like.

Fill the shape in the mold with the liquid clay. I used white for the small feathers and black for the big feathers. Pour the clay directly into the feather shapes. Take it slow so you will not have too much coming out of the bottle at one time! If your clay is viscous you might want to make it a little thinner with the help of the clay softener (this step is optional!). Pour some clay in a little bowl and mix a few drops on clay softener in your clay until it is as thin as you prefer it. I prefer to work with the viscous clay, so I directly poured it into my mold. With my skewer I push the clay to the rim of the mold, so everything is filled with it. If I have poured a little too much in my mold (that happens easily!) I can also take little quantities of clay out with the help of the skewer. Smooth the surface afterwards.


When the mold is properly filled and levelled, cure it at the recommended temperature for 25 minutes. Note: the label recommends to heat the silicon mold before using it. I did not do that and it worked just fine for me. Make your own tests to see what works better for you!
Let the mold with the clay feathers cool down completely before you remove the clay feathers out!

Sometimes the molds are filled a little over the top of the shape and there are little pieces outside of the actual shape. You can cut these of with a pair of scissors. For this project we do not need the shaft of the feather. You can either also cut it off with the scissors or with flush cut pliers. The clay is soft, so it is easy to do it.


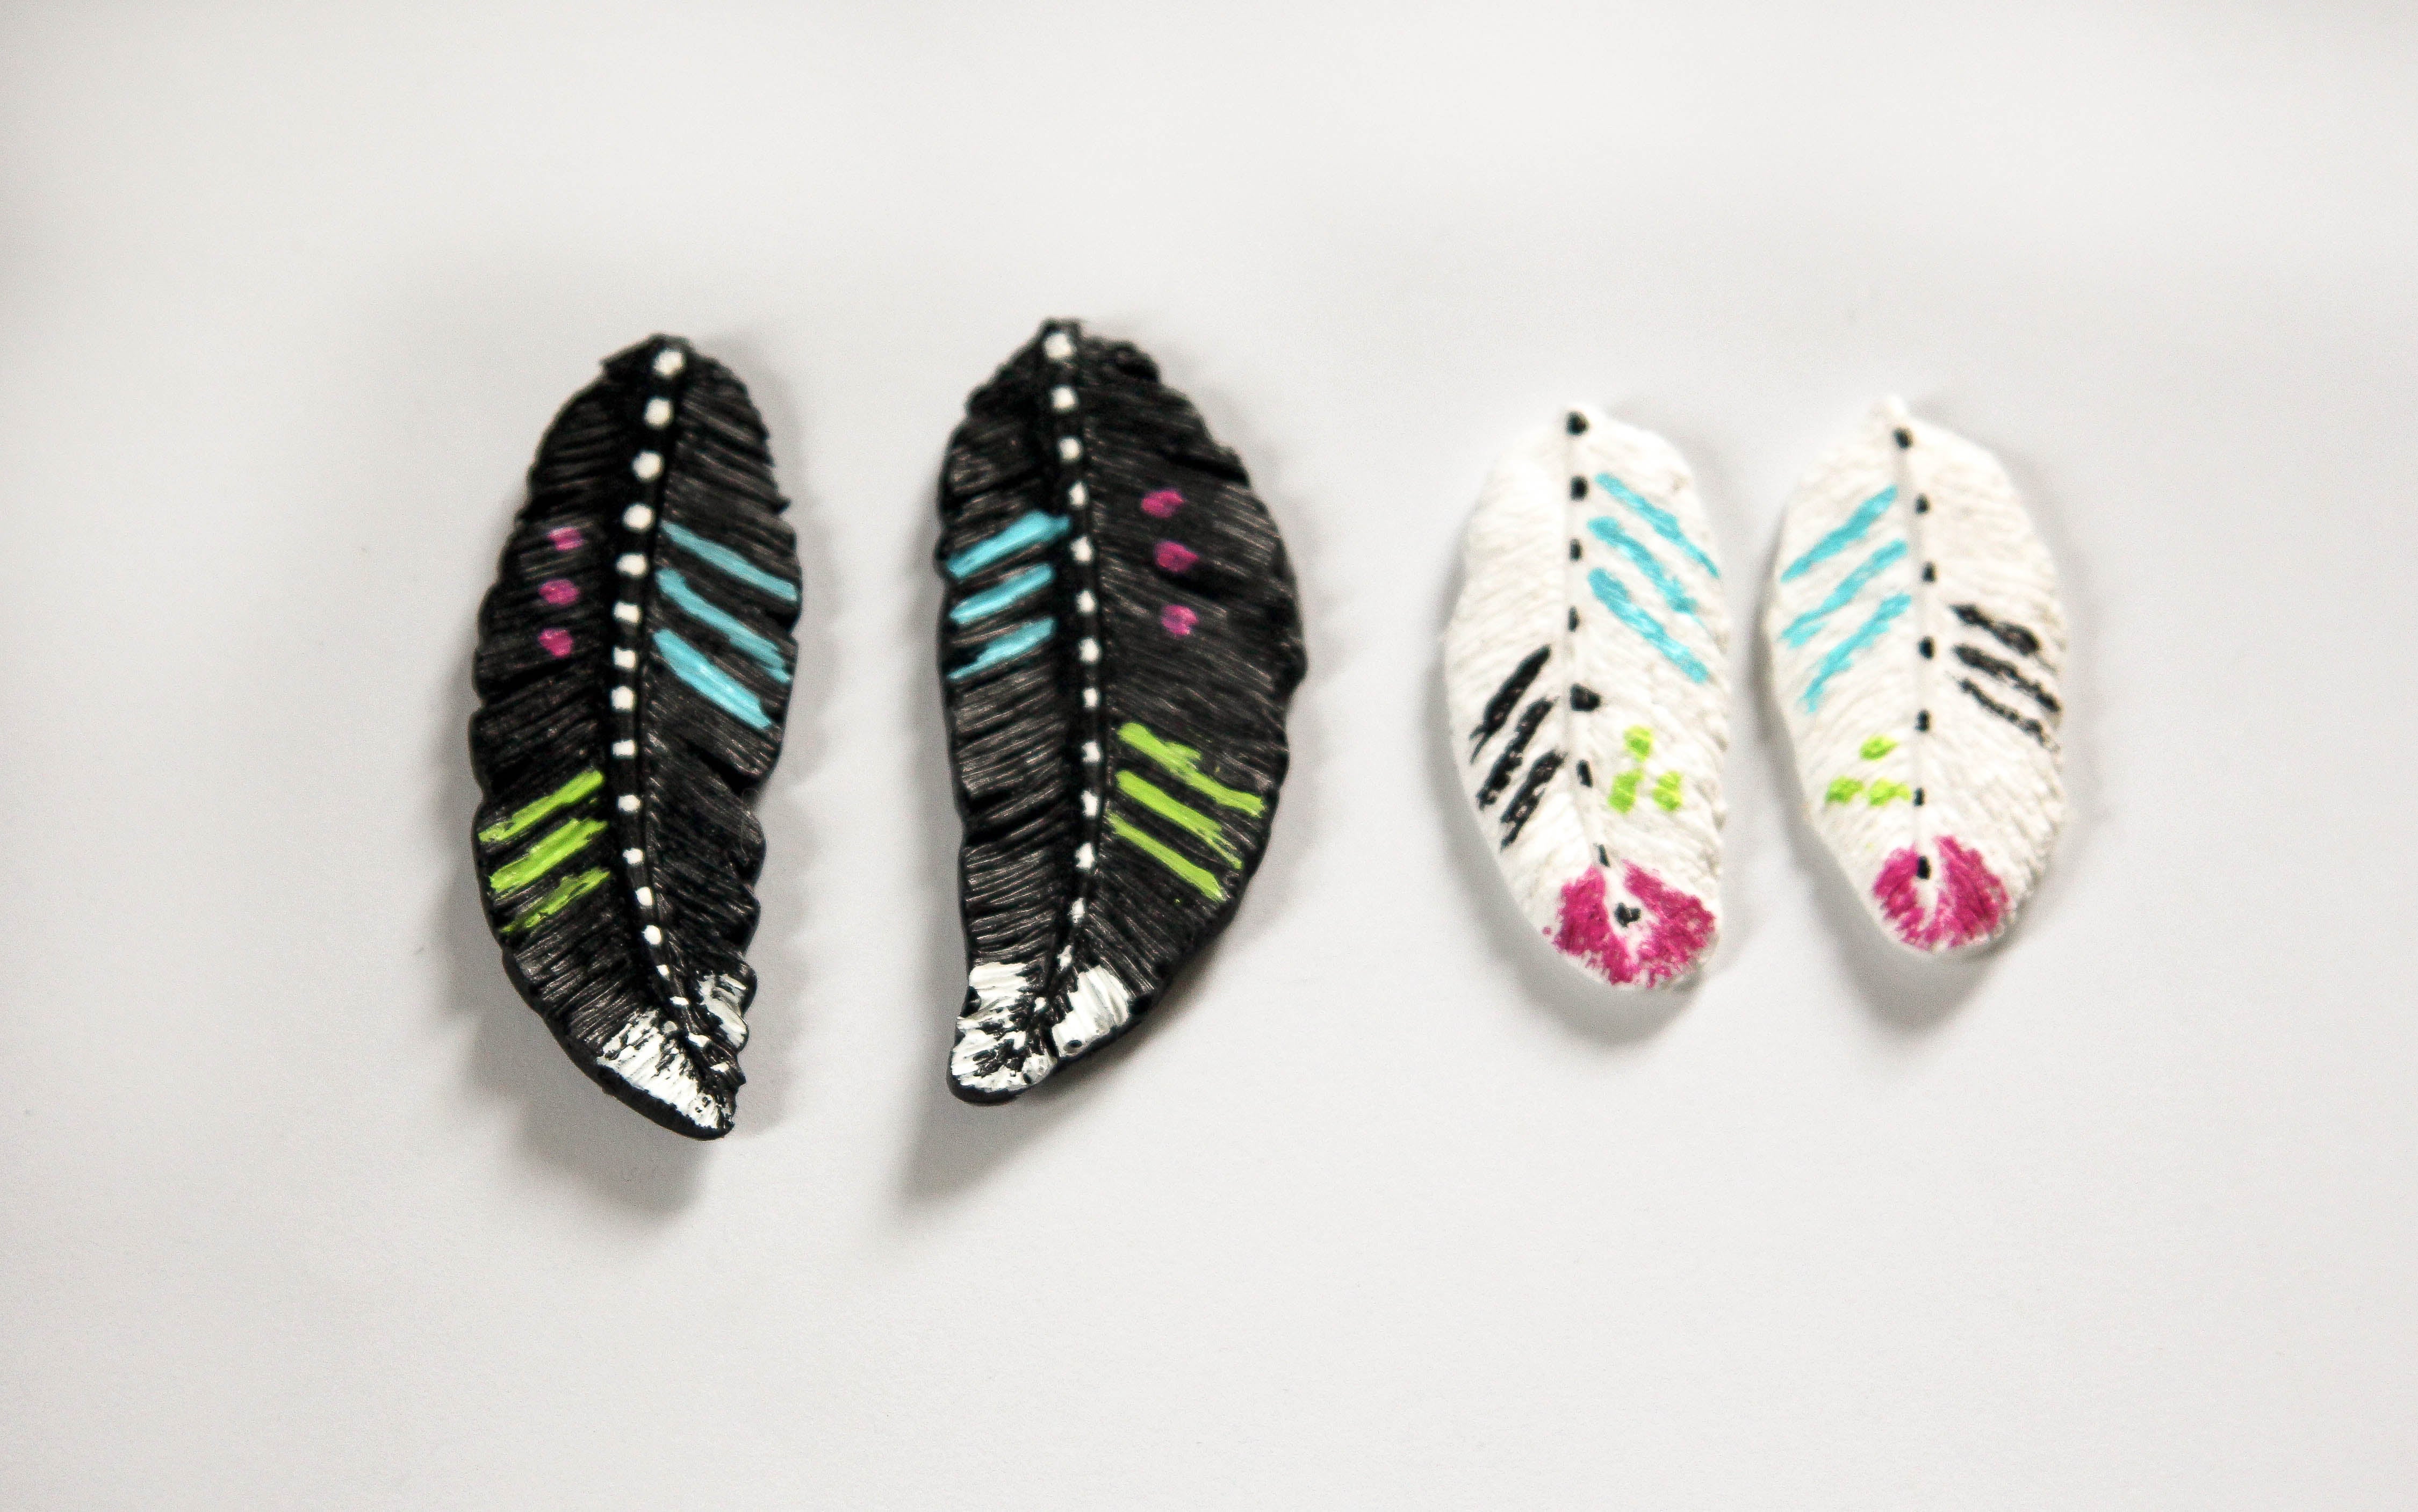
Now we will paint the feathers: place a tiny drop of your acrylic paints on the card stock. We do not need a lot of paint so a drop of the size of a pea is plenty. Use the small paint brush and add the painted decoration on top of your feathers. I like to add little dots and stripes in alternating placements on each of the feathers. Of course that is totally up to you and you can use colors and patterns that you like. Let the paint dry completely before you go an working with the next step. Since it is only a small amount of paint this should not take very long. I waited 20 minutes just to be sure everything is dry.

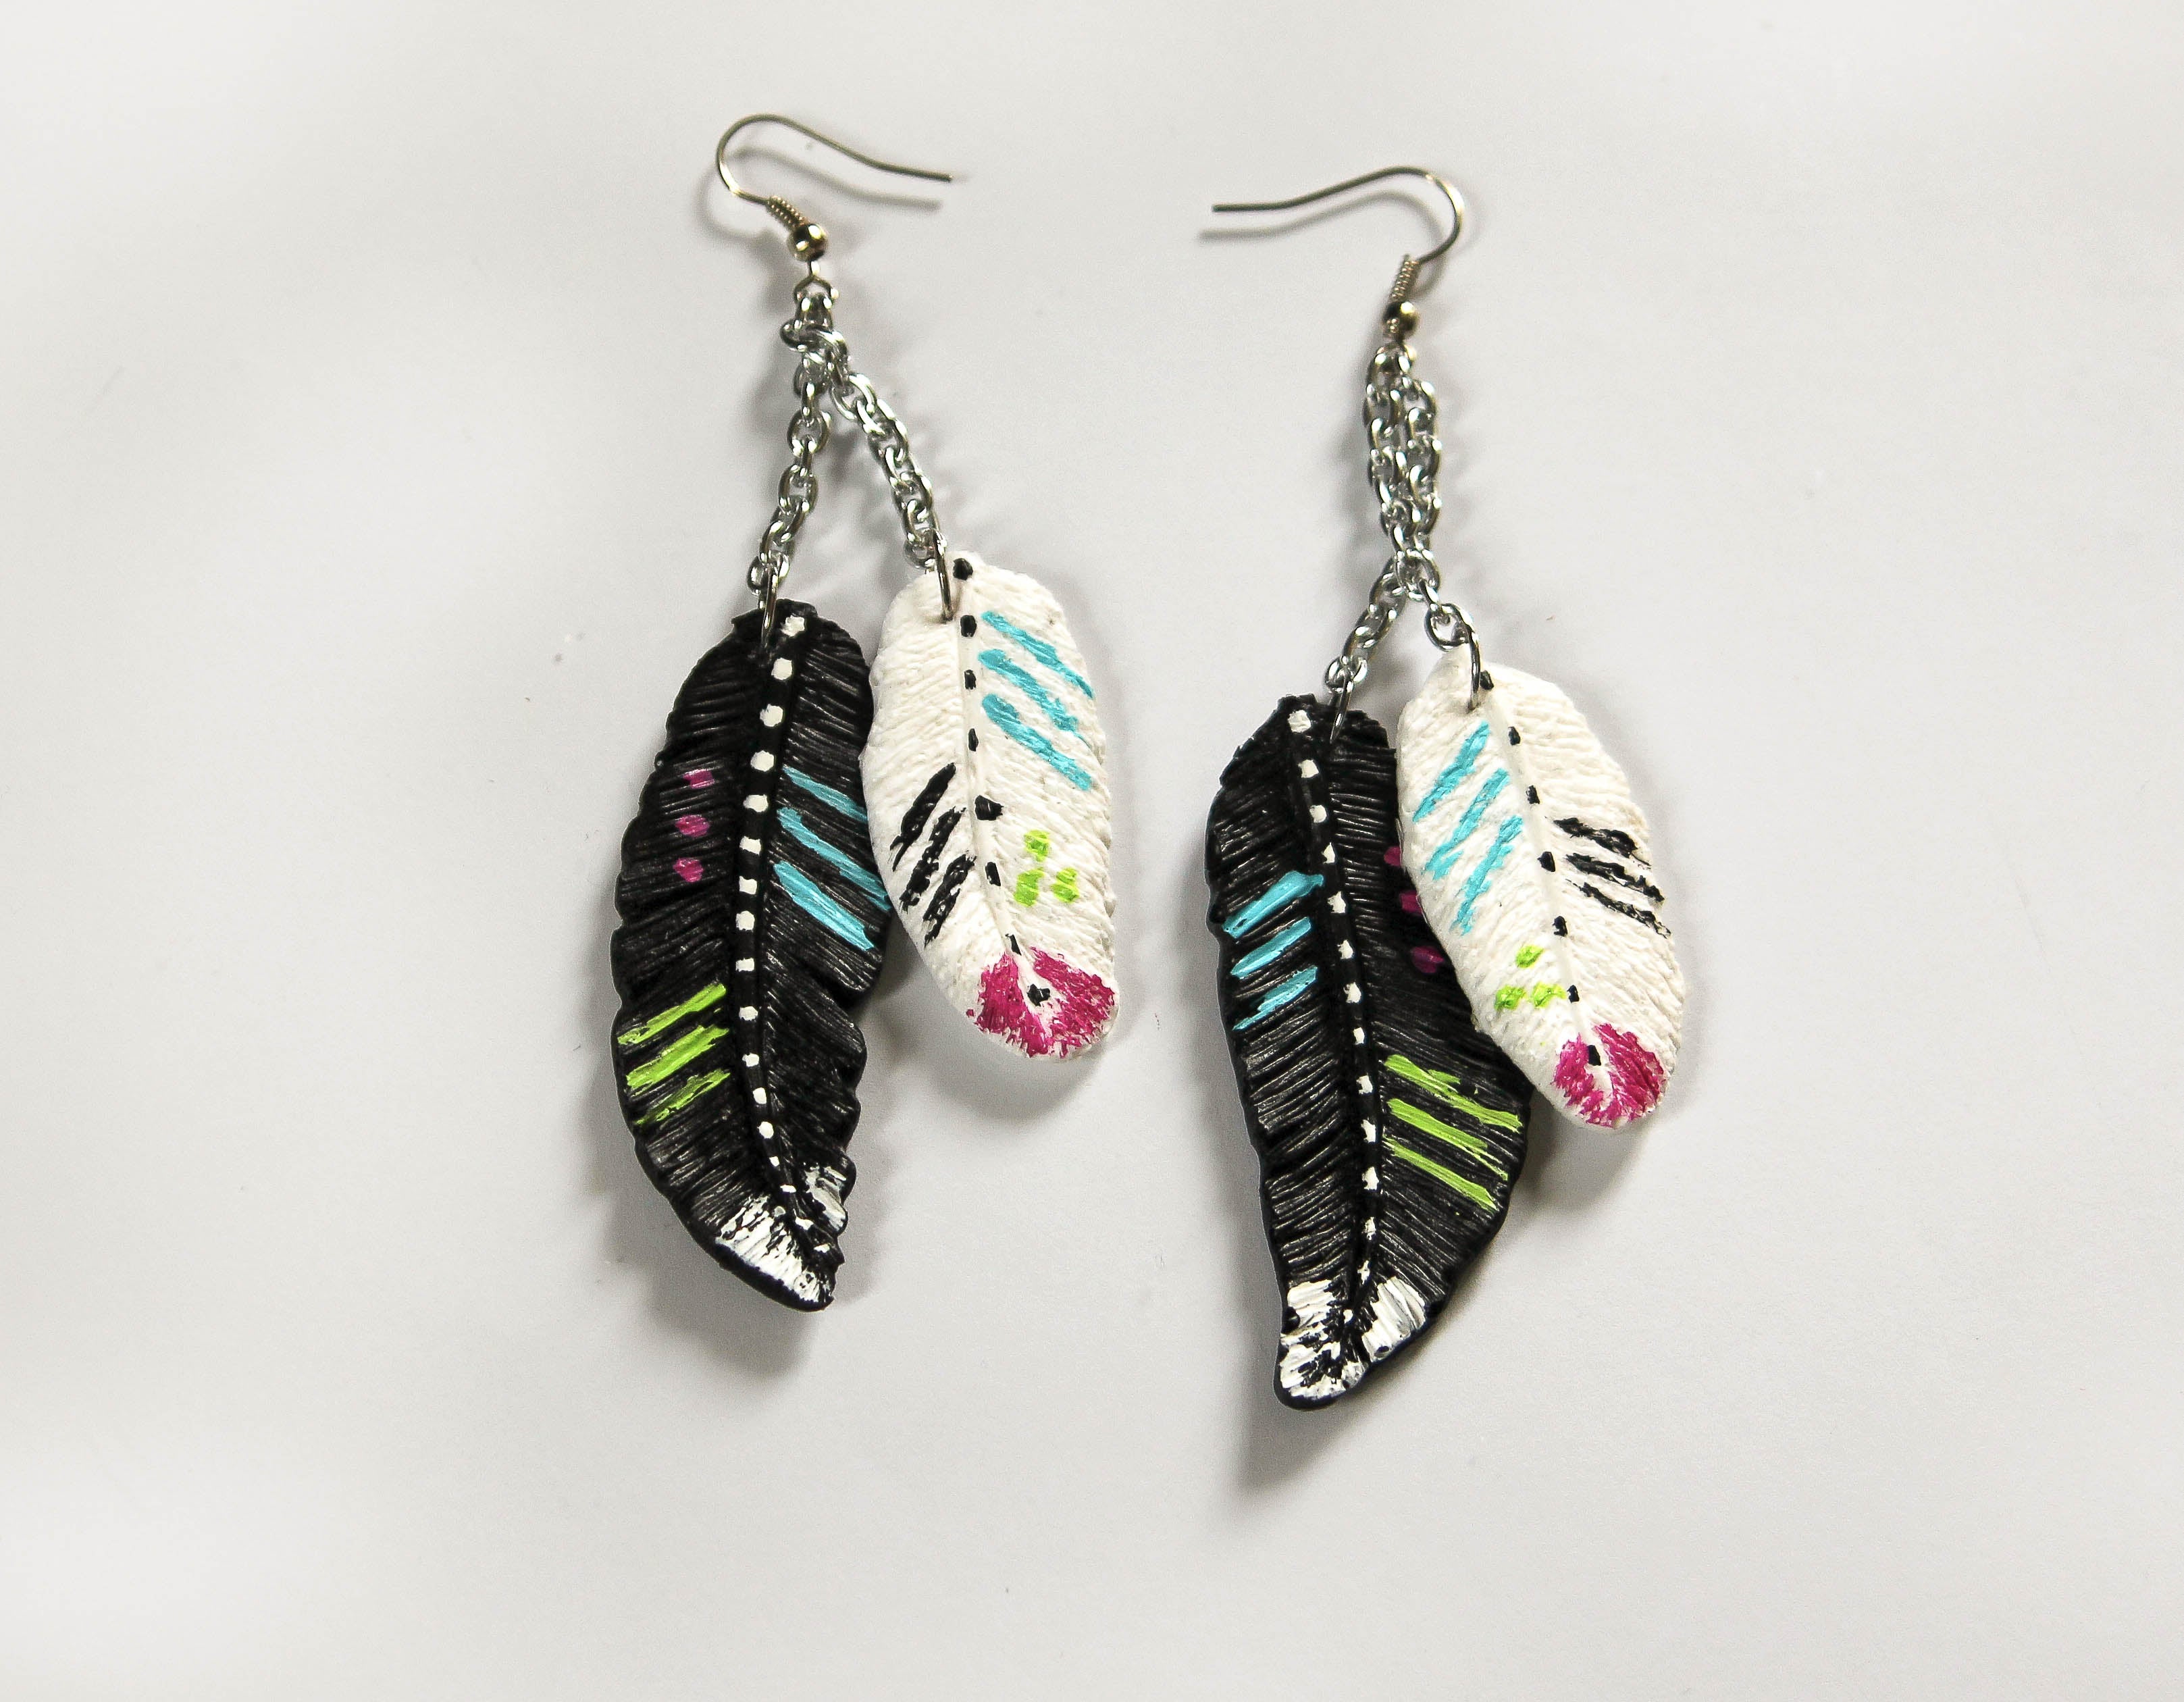
Since the liquid bakeable clay is still soft when it is cured you can use a needle tool to make holes in it. Make one hole in each feather for a jump ring. Place the hole close to the top of the feathers, but leave enough space off the rim so it will not tear. Use your pliers to put the jump ring in the hole. Do this with all four feathers.

Take your metal chain and divide it into four parts of the same length. Mine where around 1 inch/2.5 cm long. Open one segment of the chain with your pliers. The opened segment can be used the little chain from the earring hook. To attach the feathers open the jump ring slightly and connect it with the little chain. Close the jump ring tight. Attach one large and one small feather to each earring hook.

When all components have been attached safely you are done with your earring! Do the same with the second earring.
You can use all kinds of color combinations for these kind of earrings: use different colored liquid bakable clay and/ or different colored paint for the patterns! Have fun and create your own version of this project!
