
Liquid Sculpey® Charm Bracelet
Liquid Sculpey® Charm Bracelet
Designed by Anke Humpert
Read More
Read Less
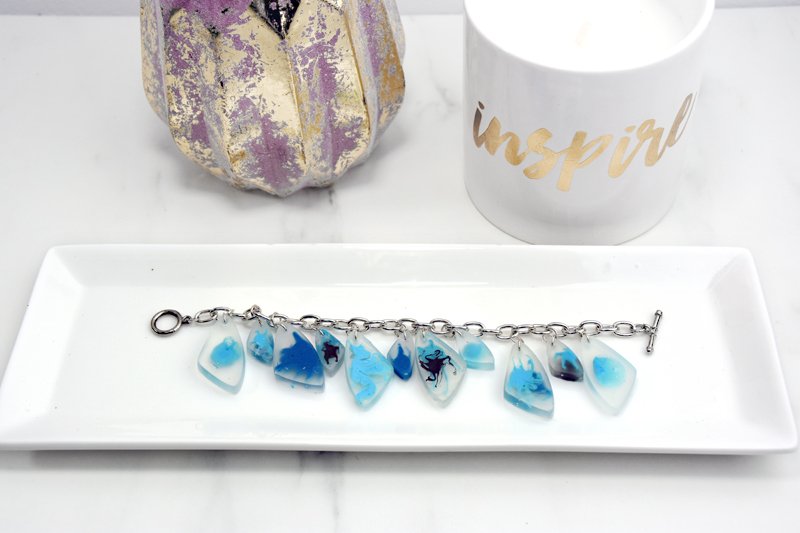
A unique charm bracelet with irregular “inkblots” created with Sculpey Liquid clays! This bracelet will sure get you some attention.
ADDITIONAL SUPPLIES
- Tooth pick or skewer
- Little spoon or scoop
- Scissors
- Paper towels
- Jewelry pliers
- Jump rings
- Charm bracelet
- Mini paper cupcake liners for mixing
Project Instructions
- Getting Started:
- Baking:
Set up your material: the liquid clay, your jewelry mold and a skewer. You want to have your paper towels ready as well. Fill the irregular triangle shapes half way up with clear liquid clay. Add one or two drops of blue on top. Use your needle tool to drag some blue out of the drop. It's a little bit like marbling.


Cure the clay at 300 ºF (149 ºC) for 15 minutes. Let it cool and do not take the clay out of the mold.
Fill the second half of the mold with clear liquid, nearly filling it up all the way. Add another drop of blue clay. You might want to mix some Blue with either White or Black liquid clay to have lighter or darker Blue now. Drag again some of the blue drop out of the drop shape with the needle tool. Don’t place the drops on top of each other! You want to see both when all of the clay is cured. Cure the clay at 300 ºF (149 ºC) for 15 minutes. Let it cool.

Sometimes you have little spikes coming out of your shape when the drops where coming out of the mold shape. You can cut those off with your scissor to have a neat shape.
Repeat the first and second step until you have enough triangular shapes to fill your charm bracelet with.Now assemble your charm bracelet with jump rings attached at the top of the clay shapes.
