Sculpey Bake Shop® Clay Shape Matching
Sculpey Bake Shop® Clay Shape Matching
Designed by Laura Kelly Walters
Read More
Read Less
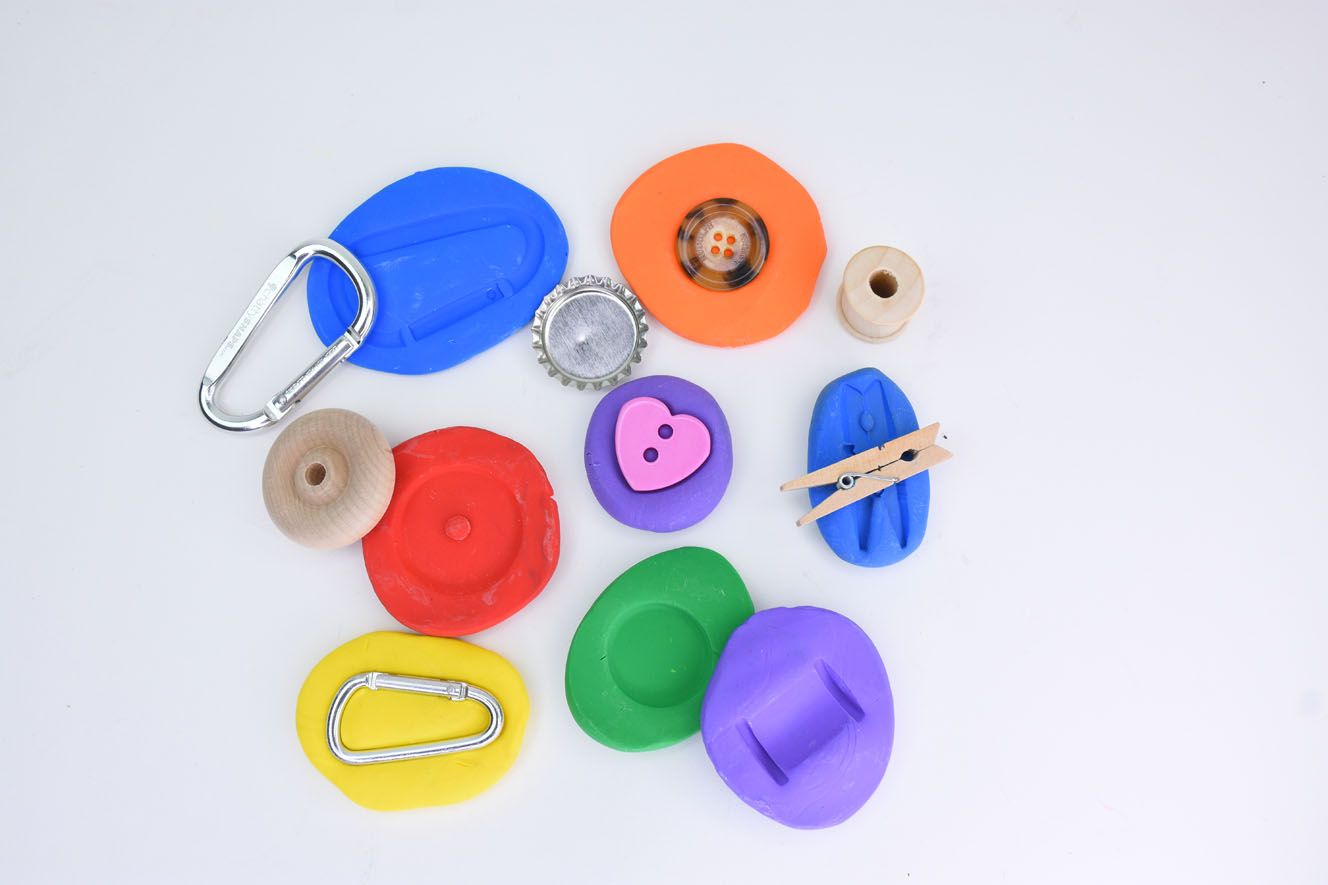
This project is fun to do with kids at home and at school. They can find and choose objects to use for making the matching learning game. It is fun for students to each bring in one object to make a large classroom matching game. Visual memory and discrimination practice help kids learn a problem solving strategy. To make the game more challenging, use same objects in different sizes.TIME TO COMPLETION: 20 minutes to make, 15 minutes to bake
NOTE TO TEACHERS: The items needed for this project as also available in the "Build your own Classroom Pack"
NOTE TO TEACHERS: The items needed for this project as also available in the "Build your own Classroom Pack"
ADDITIONAL SUPPLIES
- Small Sturdy Objects to press into clay

Project Instructions
Step 1
Getting Started with Sculpey Bake Shop® clays:• Bake at 275 °F (121 °C), 15 minutes per 1/4 inch (6 mm) thickness.
• DO NOT MICROWAVE.
• DO NOT EXCEED THE ABOVE TEMPERATURE OR RECOMMENDED BAKING TIME.
Please make sure your work area is covered and you are not working on an unprotected surface. We recommend working on the Sculpey Tools™ Oven-Safe Work Mat, wax paper, metal baking sheet, or disposable foil. Uncured clay may damage unprotected furniture or finished surfaces. Be sure to cover your crafting area appropriately.
Step 2
Gather clay and small objects that can be used to create the matching grooves. Make sure you pick a different colors for each item. I used six different colors since I had 6 different items.Roll each color in hands until soft and form balls for each color.

Step 3
Roll the ball out into a flat slab on a silicone mat using the rolling tool until approximately 1/8 inch thick.Do this for all colors.

Step 4
Press objects firmly down into rolled clay slabs.
Step 5
Remove all objects from the clay slabs and bake at 275 degrees for 15 minutes. Once removed from oven, let cool completely.
Step 6
Students can then match the object to the baked clay pieces.

