
Liquid Sculpey® Book Marker
Liquid Sculpey® Book Marker
Read More
Read Less
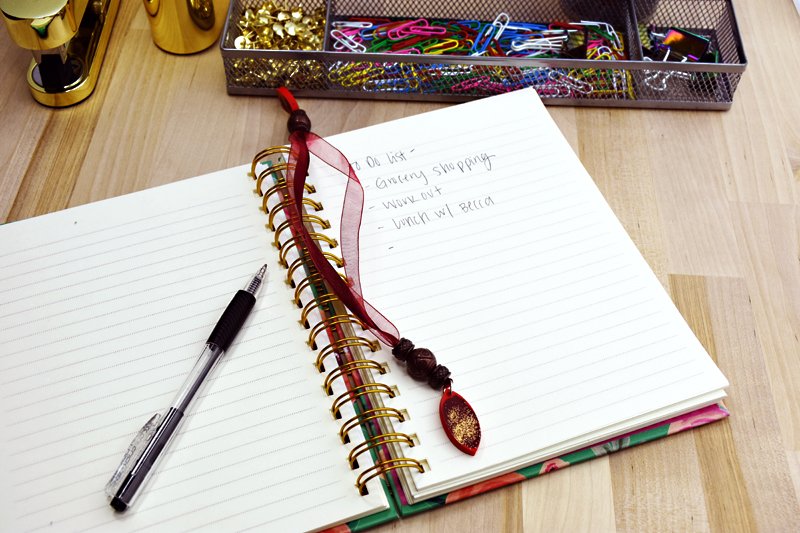
Use Liquid Sculpey to create a beautiful bookmark for that traditional print book reader in your life. With these beautiful book marks reading gets even more stylish!
ADDITIONAL SUPPLIES
- Tooth pick or skewer
- Little spoon or scoop
- Gold Glitter
- Scissors
- Paper towels
- Jewelry pliers
- Red ribbon
- Jump rings and accent beads for fixing the ribbon
Project Instructions
- Getting Started:
- Baking:
First we will mix the dark red liquid clay: I like to use my cabochon mold as a mixing palette! Pour red liquid clay in on of the bigger cabochon indentations. Add a small drop of black liquid clay to it. TIP: The black clay is very strong so use only very little! If you want to have a darker red you still can add more. But it´s better to start with little black first!

Use your tooth pick or skewer to thoroughly mix the two clay colors until you have an even dark red clay.

Now start filling the jewelry mold with the liquid clay. You will need to work fast with the liquid clay or it will level out and you will get horizontal layers instead of having both red colors next to each other! Add the bright red straight out of the bottle around the rim of the pointy oval shapes of the jewelry mold.

Use a little scoop or spoon to add the dark red in the middle of the mold. Fill up until the mold is filled with liquid clay. If you always place the dark red in the middle it will push the bright red to the rim of the mold. Make sure that the post on the mold is not covered.

You filled mold should look similar to what you see in the picture above.
Add some glitter on top of your clay. Bake at 275 °F for 30 minutes.

When your clay has cooled completely take it out of the mold, add jump rings to the top and string it with the accent beads on your ribbon. The ribbon should make a loop and go through the accent beads twice, so the clay charms are fixed. If your ribbon ends show cut them off close to where they come out of the accent beads.
