Sculpey Soufflé™ Geometric Slab Votive
Sculpey Soufflé™ Geometric Slab Votive
Designed by Amy Koranek
Read More
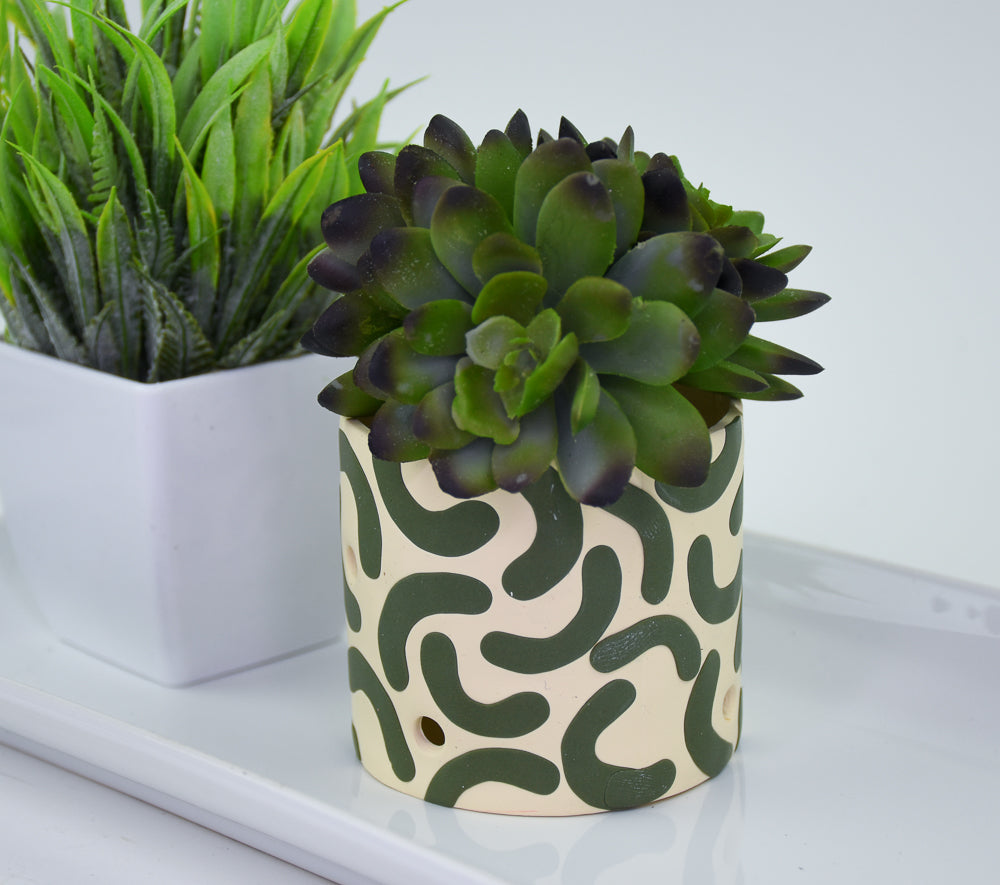
This wonderful Sculpey Soufflé™ Geometric Slab Votive with the nickname "inchworm" will surprise and delight everyone that sees it! It is built around a cardboard form for shape and utilizes a clay "slab" for its graphic design.
COMPLETION TIME:
90 Minutes to make and bake
Read Less
ADDITIONAL SUPPLIES
- Paper tube from toilet tissue, paper towel, or wrapping paper
- Packing tape
- X-acto knife

Project Instructions
- Getting Started:
Start with clean hands, unwrap and knead clay until soft and smooth, or condition by running clay though a Pasta Machine. We recommend using a designated machine for clay purposes only. When working with multiple colors, clean hands with soap and water or baby wipes (we have found that baby wipes work best) before switching colors. Shape clay, pressing pieces firmly together. Wash hands after use.
- Baking:
tape. Place packing tape across the bottom opening as well with the sticky side of the tape facing inside the tube. Trim around the edges of the bottom tape so it does not extend past the edges of the walls. My vessel form is 2-3/4” wide and 2-1/2” tall

Prepare the background clay. Condition and sheet both bars of Ivory Soufflé™ to a sheet 1/8” thick. At this point, just make sure there is enough clay to wrap around the vessel completely one time. Remove the clay sheet and lay it flat on the work surface. Set aside excess clay for now to be used on the bottom of the votive later.

From 1/4 bar of Khaki Green Soufflé™ shape a little log 1/2” in diameter. Depending on the size of your vessel you may need to repeat this step later if you run out of inchworm shapes.

Flatten the log with your fingertips to make it 3/4” wide and 1/8” thick.

Use the Clay Blade to slice pieces from the log 1/16” thick.

Flatten each piece by pinching between your thumb and forefinger.

Bend the little Khaki Green pieces slightly so they kind of look like inchworms and press them as flatly as possible onto the Ivory background.

Continue covering the background with the little inchworm shaped graphics in a random pattern. I know that my clay sheet is slightly wider than my vessel form is tall, so I’m not concerned with getting the pattern completely to the edges because I know those will be trimmed.

Roll the inchworm graphics into the background with the Acrylic Clay Roller.

Use the Large Etch ‘n Pearl to punch holes in the design for candle ventilation. Push the pearl end of the tool into the clay as deeply as possible - preferably all the way through to the work surface. Spin the tool against the work surface to cut completely through the clay. When you lift the tool out of the clay the little circle will come with it. Press the end of the tool into some Ivory scrap clay to release the circle from the tool.

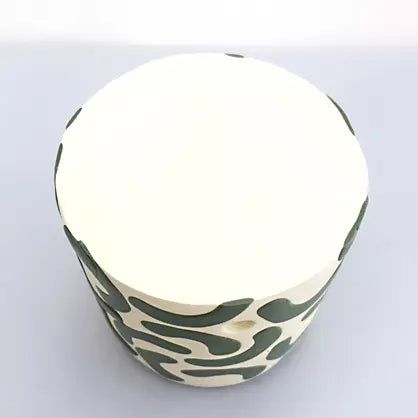
Take excess Ivory clay from Step 3 and sheet it to 1/8” thick. Position the votive form in the center of the sheet of clay. The non-sticky side of the packing tape across the bottom of the votive should be in close contact with the clay sheet.

Carefully trim out a piece of clay to fit the bottom of the vessel. Carefully turn the vessel upside down and smooth the cut edge of the clay with your fingertips. Make sure the clay is sitting nice and flat on top of the packing tape.

Wrap the patterned sheet around the outside of the vessel form.

Trim the sheet so that the two ends butt right up next to each other. Smooth the seam with your fingertips to blend it together.

Take a few extra inchworm graphics and position them across the seam to make sure the pattern continues smoothly. Roll the entire vessel on its side on the work surface to make sure everything is nice and smooth.

Make sure the sides of the vessel are in really good contact with the bottom piece of clay. Trim away excess clay around the bottom with the Clay Blade.

Smooth seams around the bottom edge with your fingertips.
Stand the votive upright. Trim the top edge along the cardboard insert by pushing the corner of the blade through the clay.

If the little holes got distorted during the move from flat to round, don’t worry, those will clean up easily after baking.

Bake the votive following the baking instructions for Sculpey Soufflé™. If there was packing tape that extended past the top edge of the votive, it may have shrunk during baking, this is perfectly fine.

Allow the votive to cool completely before handling. If you try to remove the clay from the cardboard before it is cool, it may break.
Insert the tip of the Knife Tool between the clay and the cardboard, but only about 1/4” deep. Slide the tip of the Knife Tool all the way around loosening the top edge of the clay from the top edge of the cardboard. Once you have gone all the way around, you can push the knife in another 1/4” deeper and repeat. Keep pushing the knife in deeper until the clay is completely separated from the vessel form.
Insert the tip of the Knife Tool between the clay and the cardboard, but only about 1/4” deep. Slide the tip of the Knife Tool all the way around loosening the top edge of the clay from the top edge of the cardboard. Once you have gone all the way around, you can push the knife in another 1/4” deeper and repeat. Keep pushing the knife in deeper until the clay is completely separated from the vessel form.

Carefully push the clay form off of the cardboard form. You may wish to use the form again on a future project.
Inspect the little holes. They can easily be cleaned up with the tip of an X-acto knife.
Inspect the little holes. They can easily be cleaned up with the tip of an X-acto knife.

Add a small candle that has a protective metal or glass housing.

- Choosing a selection results in a full page refresh.
- Opens in a new window.