
Souffle Mokume Gane 3-Square Puzzle Pendant
Souffle Mokume Gane 3-Square Puzzle Pendant
Designed by Syndee Holt
Read More
Read Less
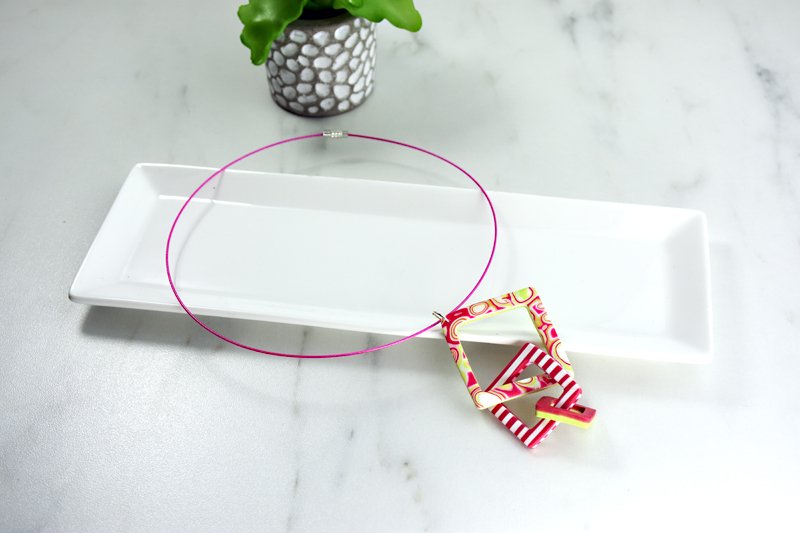
This fun pendant is a show stopper and the Souffle color combinations are endless!
ADDITIONAL SUPPLIES
- Jump ring
- Cord for necklace
- Tile
Project Instructions
- Getting Started:
Start with clean hands, unwrap and knead clay until soft and smooth, or condition by running clay though a Pasta Machine. We recommend using a designated machine for clay purposes only. When working with multiple colors, clean hands with soap and water or baby wipes (we have found that baby wipes work best) before switching colors. Shape clay, pressing pieces firmly together. Wash hands after use.
- Baking:
Sheet out about 1/2 block of each of the three colors on the middle setting on the Clay Conditioning Machine. Stack the colors with the Igloo in the center. Run the stacked clay through the Clay Conditioning Machine on the same setting. Accordion fold this sheet of clay in three sections as shown. Lightly roll the acrylic roller over the stack.

Repeat step 2 again. Place the accordion folded clay on the smooth tile. Use the Dual End Detail Tools to press into the stack of clay. I prefer to start with the largest to medium as shown. Carefully press the smallest Style n’ Detail tool into the clay.


Use your palm to press the clay to the smooth tile. Use your thumbs to slightly bend your blade and carefully slice off a thin layer of the clay. I find focusing on pulling the cutting side of the blade slightly up helps keep my slice shallow!

You should have a large(ish) slice of clay, but don’t worry if you actually have several smaller slices – they piece together quite nicely. Sheet out a small piece of the Igloo clay on the middle setting and gently lay your pieces on this sheet of clay. Lightly roll over the stack with the acrylic roller, then put the clay stack carefully through the Clay Conditioning Machine on the widest setting, the next widest and finally, the same setting you used at the beginning. There should be almost no seams showing between the clay stack and the Igloo background. NOTE: You can also use the textured stack of clay for this square instead!


Place this sheet of clay onto a sheet of plain clay (either Igloo or Raspberry) that is sheeted out at the same thickness. Use the 1-3/4 inch (44mm) cutter to cut out a square of clay. Use the next size down cutter to remove the center. Use the needle tool to put a hole in the top corner of the square. Set aside


Sheet out rectangles of the Raspberry and Igloo that are about 2x3 inches on the middle setting. Cut sections of this stack about 1/2 inch wide and stack them as shown, alternating colors. Finally, cut slices from this stack that are slightly wider than the widest setting on the Clay Conditioning Machine (you should have 3 slices). Place the slices together to keep the pattern correct.


Use the acrylic roller to roll over the top with slight pressure to help seal the pieces together. Carefully roll through the Clay Conditioning Machine on the widest setting with the lines VERTICAL to the rollers. Move to the next widest setting and repeat. Use the same cutter you used for the middle of the first square to cut out a square – keep the clay in the cutter! Rotate the cutter 90 degrees and cut out another square. NOW you can remove the stacked layers from the cutter and lightly press the layers together.


Use the next size smaller cutter to cut out the middle of the striped square. Use that size cutter to cut out a stack of Pistachio and Raspberry (both on that middle setting again). Finally use the square cutter from the Mini Cutters Geometrics to cut out the center of that square. (NOTE: you can use the textured version of the mokume gane stack for your large square as well as shown!) You may have noticed by now that you can easily peel the excess stacked layers of Souffle apart! I don’t know how the clay knows when to stick and when to release, but I love that I have almost no waste and there is very little transfer of color from layer to layer when you peel them apart!

Bake the 3 squares according to the directions in step one. Once the clay has cooled, use the Super Slicer to cut one of the corners open on the middle square. Thread the smaller square into this square and finally thread it through the largest square. Use the super glue to glue the square back together. Add a jump ring through the hole at the top of the largest square and hand your new pendant!

