Sculpey III® Embellished Dog Walk Leash Holder
Sculpey III® Embellished Dog Walk Leash Holder
Designed by Amy Koranek
Read More
Read Less
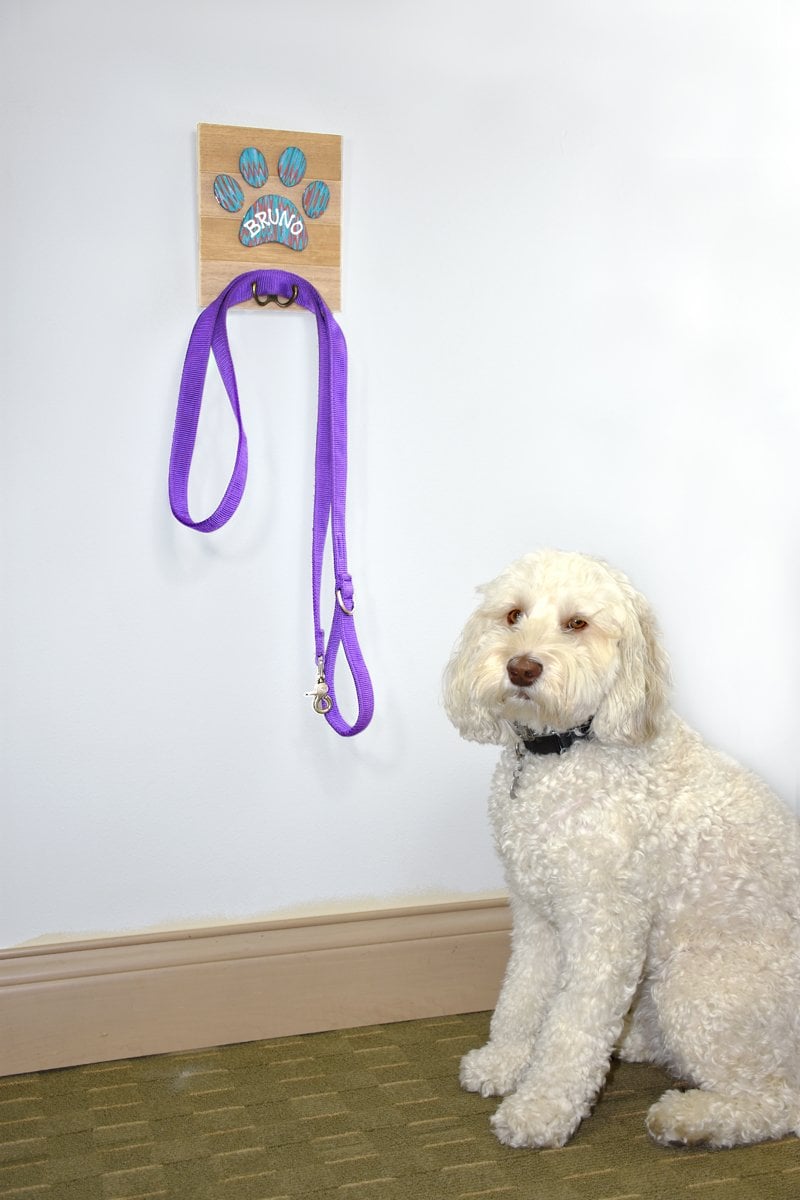
Sculpey III® helps your dog’s leash to be stylishly displayed and always ready hanging from this Sculpey embellished Dog Walk Leash Holder.
ADDITIONAL SUPPLIES
- Xacto style craft knife

Project Instructions
- Getting Started:
Start with clean hands, unwrap and knead clay until soft and smooth, or condition by running clay though a Pasta Machine. We recommend using a designated machine for clay purposes only. When working with multiple colors, clean hands with soap and water or baby wipes (we have found that baby wipes work best) before switching colors. Shape clay, pressing pieces firmly together. Wash hands after use.
- Baking:
Sheet each clay color through the pasta machine on the thickest setting. You will need a 3” x 3” square of each color.

Stack the colors on top of each other.

Roll over the colors with the roller to seal them together and to thin them enough to press through the pasta machine.

Sheet the color stack through the pasta machine on the thickest setting. Cut the sheet in half.

Stack the two sections on top of each other and sheet through the pasta machine again on the thickest setting. Cut the sheet into four equal size sections.

Stack the sections on top of each other.

Form the stack with the palms of your hands on all sides. Keep forming until the sides become smooth. It’s okay if the lines become more wavy. Stand the block in front of you with the lines perpendicular to the work surface.

With the wave blade, slice down through the stack holding the blade parallel to the stripes in the slab. When you open up the cut, a beautiful random wave striped pattern will be revealed.

Cut several wave pieces through the stack at least 1/8” thick. Sheet each piece through the pasta machine on the thickest setting. Sheet again on the second thickest setting.

Take a look at your plaque. Decide how you’d like to embellish it with the clay. I’ve decided that I will cover the metal paw print with the patterned clay.

For the largest area, I need to splice together two of my wave patterned pieces. Cut a straight edge along the left side of one piece and along the right side of a second piece. Push the straight edges together and smooth the seam with your fingertip. Lay the large clay piece over the large paw area. Use your thumb to gently push the clay around the edge of the metal piece marking the back of the clay with a line.

Flip the clay piece over and trim along the line with a craft knife.

Repeat Steps 12 & 13 to make clay pieces that match the toe shapes. Check the sizing of all of your pieces to make sure they cover the metal

For this project I’m not comfortable putting the wood piece in the oven. I’m not sure that it’s really wood or what kind of finish is on it, so I’m going to be safe and not bake it. Place a piece of barrier paper over the paw area to get the clay positioning correct.

Put the clay pieces back in place on top of the barrier paper. Since my metal pieces are corrugated, I need to make sure my clay follows this shape so that when they are baked they will fit over the metal nicely. I use finger pressure to make sure my clay pieces follow the shape of the metal below. Smooth all the edges with your fingertips so they don’t look cut. When you are happy with the shape of your clay pieces, gently lift the barrier paper with the clay pieces on top and bake them on the paper following the baking instructions.

As soon as the baking time is complete, use an oven mit to remove the clay pieces from the barrier paper and allow them to cool completely on a flat surface. The barrier paper may tend to curl while it is cooling and if it curls, it will make the clay pieces curl as well. When the clay pieces are completely cool, glue them in place. Allow the glue to dry and then inscribe your pet’s name on the paw with an opaque white paint marker.

Now! Take that dog for a walk!
