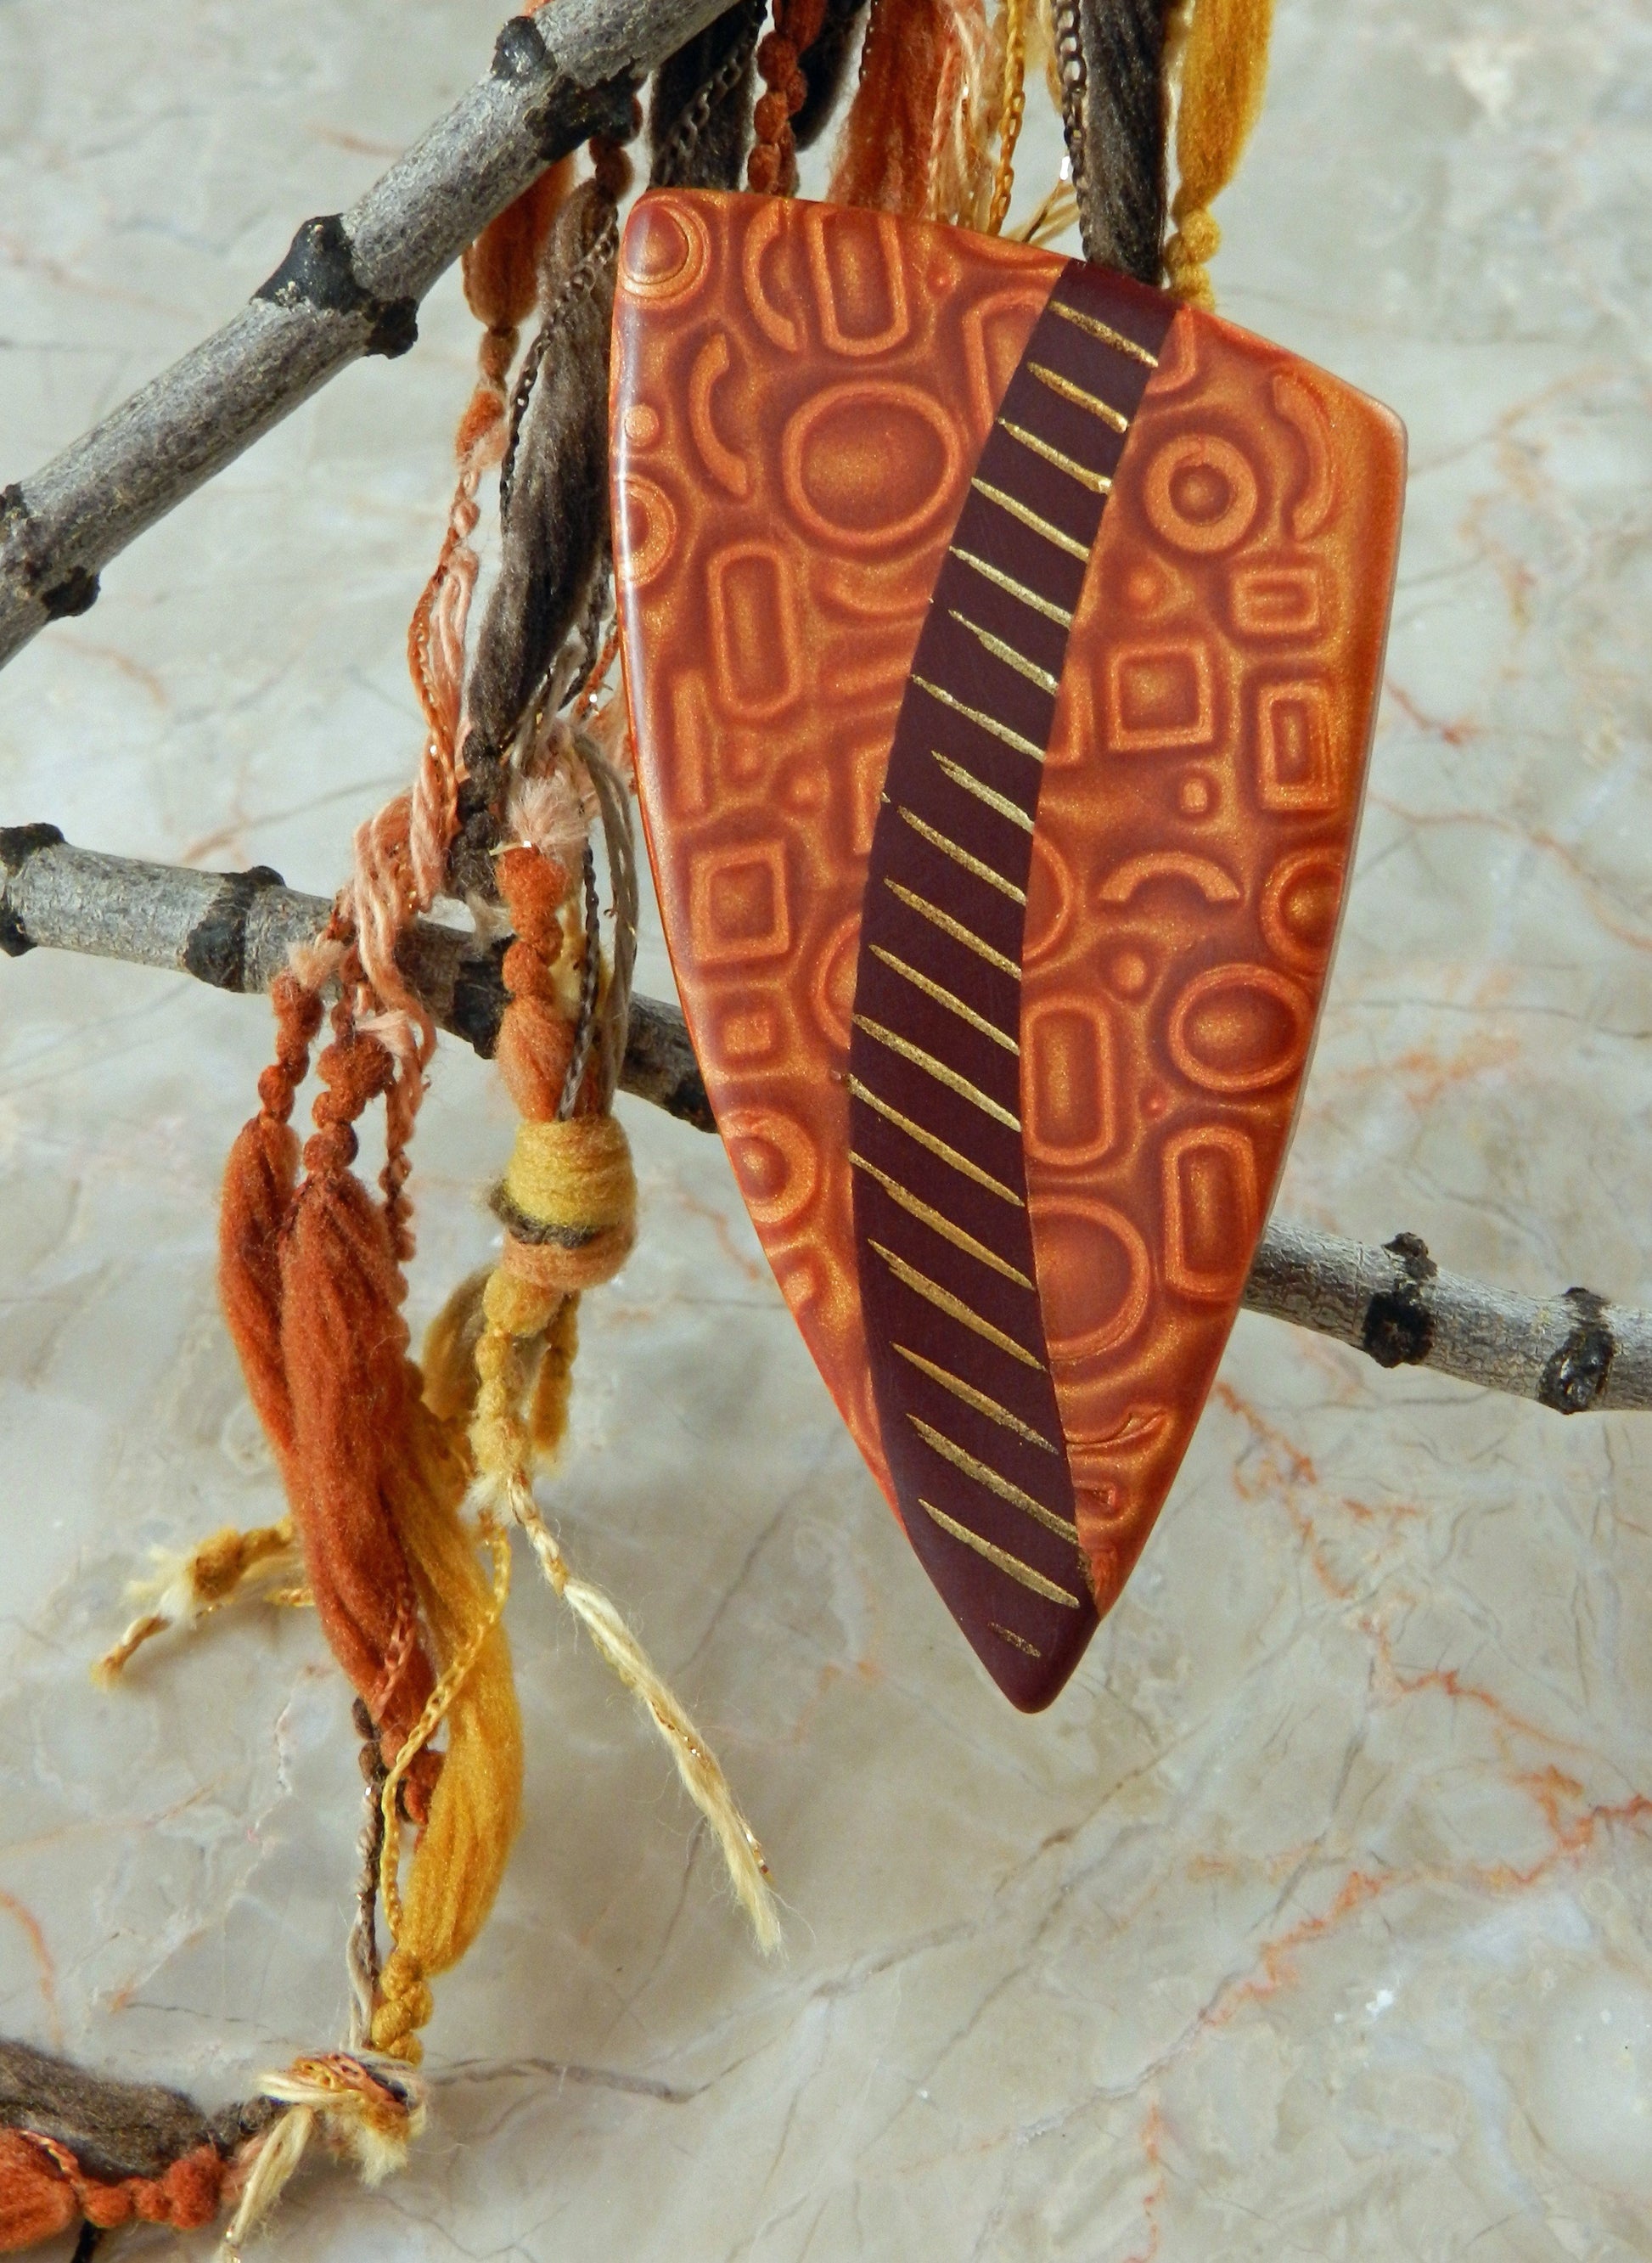
Sculpey Premo™ Holographic Necklace
Sculpey Premo™ Holographic Necklace
Designed by Julie Picarello
Read More
Read Less
This stunning pendant is sure to be a conversation starter.
ADDITIONAL SUPPLIES
- Spray bottle with water
- Gold and Copper Metallic Powder Paint Brush
- Deli paper or wax paper
- Soft cotton cloth

Project Instructions
- Getting Started:
Start with clean hands, unwrap and knead clay until soft and smooth, or condition by running clay though a Pasta Machine. We recommend using a designated machine for clay purposes only. When working with multiple colors, clean hands with soap and water or baby wipes (we have found that baby wipes work best) before switching colors. Shape clay, pressing pieces firmly together. Wash hands after use.
- Baking:

To begin, condition and roll out a strip of Alizarin clay on the #1 setting of the clay conditioning machine. Drag the Dragging Design Block across the clay with enough force to create grooves in the clay, but not hard enough to gouge out chunks.

Using the Super Slicer, trim the clay so it is about 2 inches long and use a paintbrush to dab the clay with gold and copper metallic powders. Be sure that the powder fills in the grooves completely and set aside.

Combine 3 parts Gold and 1 part Alizarin Crimson clay to create a luscious metallic burnt orange. Roll out a piece of clay on the #1 setting of the clay conditioning machine. Cut and stack the clay so it is approximately the length of the Geometric Design Block. Spray the tool with water as a release, and press into the clay as far as possible.

Using the clay blade carefully shave off the pattern until the holographic design begins to appear. Run the slab of clay through the clay conditioning machine on the #1 setting. NOTE: Depending upon how deeply you imprinted the clay and how much you have shaved off, this may stretch the clay somewhat and distort the pattern. Often this gives a very interesting look, but if you do not care for it simply re-roll, stack and imprint the clay again.

Your holographic clay and your powdered clay should be the same thickness, as they were both run through the clay conditioning machine on the #1 setting. Form a slight curve in your flexible clay blade as you trim both pieces so that they can be formed back together with a powdered strip in the middle.

Place a piece of thin deli/wax paper on top of the clay and run your finger gently over the seams to seal the pieces together. To make the pendant thicker and stronger and hide the back seams, place the patterned piece on top of another piece of clay before cutting the final pendant shape.

Once the pendant is completely trimmed and the edges smoothed, you will add a bail to the back of the pendant. This step can also be down after the pendant is cured to ensure it is not misshaped by too much handling, but can be done now if a very gentle touch is used. Trim two very thin strips from the left-over powdered clay and attach to the back of the piece.

Use a rolled up piece of deli/wax paper or a toothpick the keep the bail from completely attaching to the pendant back, and place in the oven and bake as directed above.
Once cooled, sand with 400/600/800 wet-dry sandpaper. Start with the lowest grit until the piece feels smooth. Then follow with the other grits very gently and quickly to even out any lines left by the rougher grit. Then polish with a soft cotton cloth. NOTE: Sanding will remove the metallic powder from the Alizarin Crimson clay, leaving only the powder remaining in the indented grooves.