
Sculpey III® Cake for Two Lanyard Charms
Sculpey III® Cake for Two Lanyard Charms
Designed by Amy Koranek
Read More
Read Less
Cake for me and cake for you - make super cute charms to add to your lanyard, backpack, charm bracelet, or key fob using Sculpey III® oven bake clays.
ADDITIONAL SUPPLIES
- Ruler
- Craft knife
- Toothpick
- 1” Eye pins (2)
- Lanyard hooks (2)
- Jump rings (2)
- Flat nose pliers

Project Instructions
- Getting Started:
Start with clean hands, unwrap and knead clay until soft and smooth, or condition by running clay though a Pasta Machine. We recommend using a designated machine for clay purposes only. When working with multiple colors, clean hands with soap and water or baby wipes (we have found that baby wipes work best) before switching colors. Shape clay, pressing pieces firmly together. Wash hands after use.
- Baking:
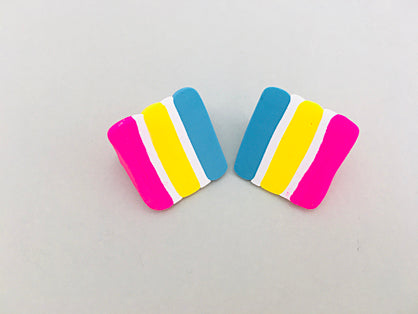
Shape 1/16 bar each of Turquoise, Yellow, and Candy Pink into thick little 3/4” squares. Use a ruler to check your sizing.

Flatten 1/4 bar of White with the Acrylic Clay Roller to a 1/8” thick sheet.

Lay two of the color squares on top of the White clay sheet. Trim around them with the craft knife making two layers of the cake and frosting.

Stack the cake layers up as shown.

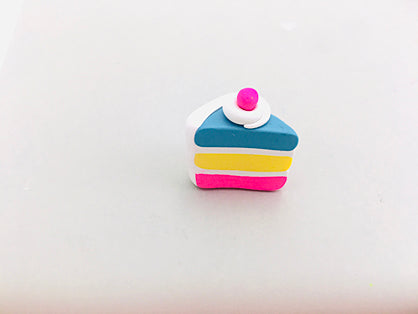
Stand the cake right side up. Cut the cake diagonally into two triangles carefully with a craft knife.

Open the triangles up to make two pieces of cake.
Add a piece of the White sheet to the end of each piece of cake.

Add a curly-q of White frosting to the top of the cake slice.

Add a ball of Candy Pink to the top of the curly-q.
Make swirls in the frosting with the tip of a toothpick.
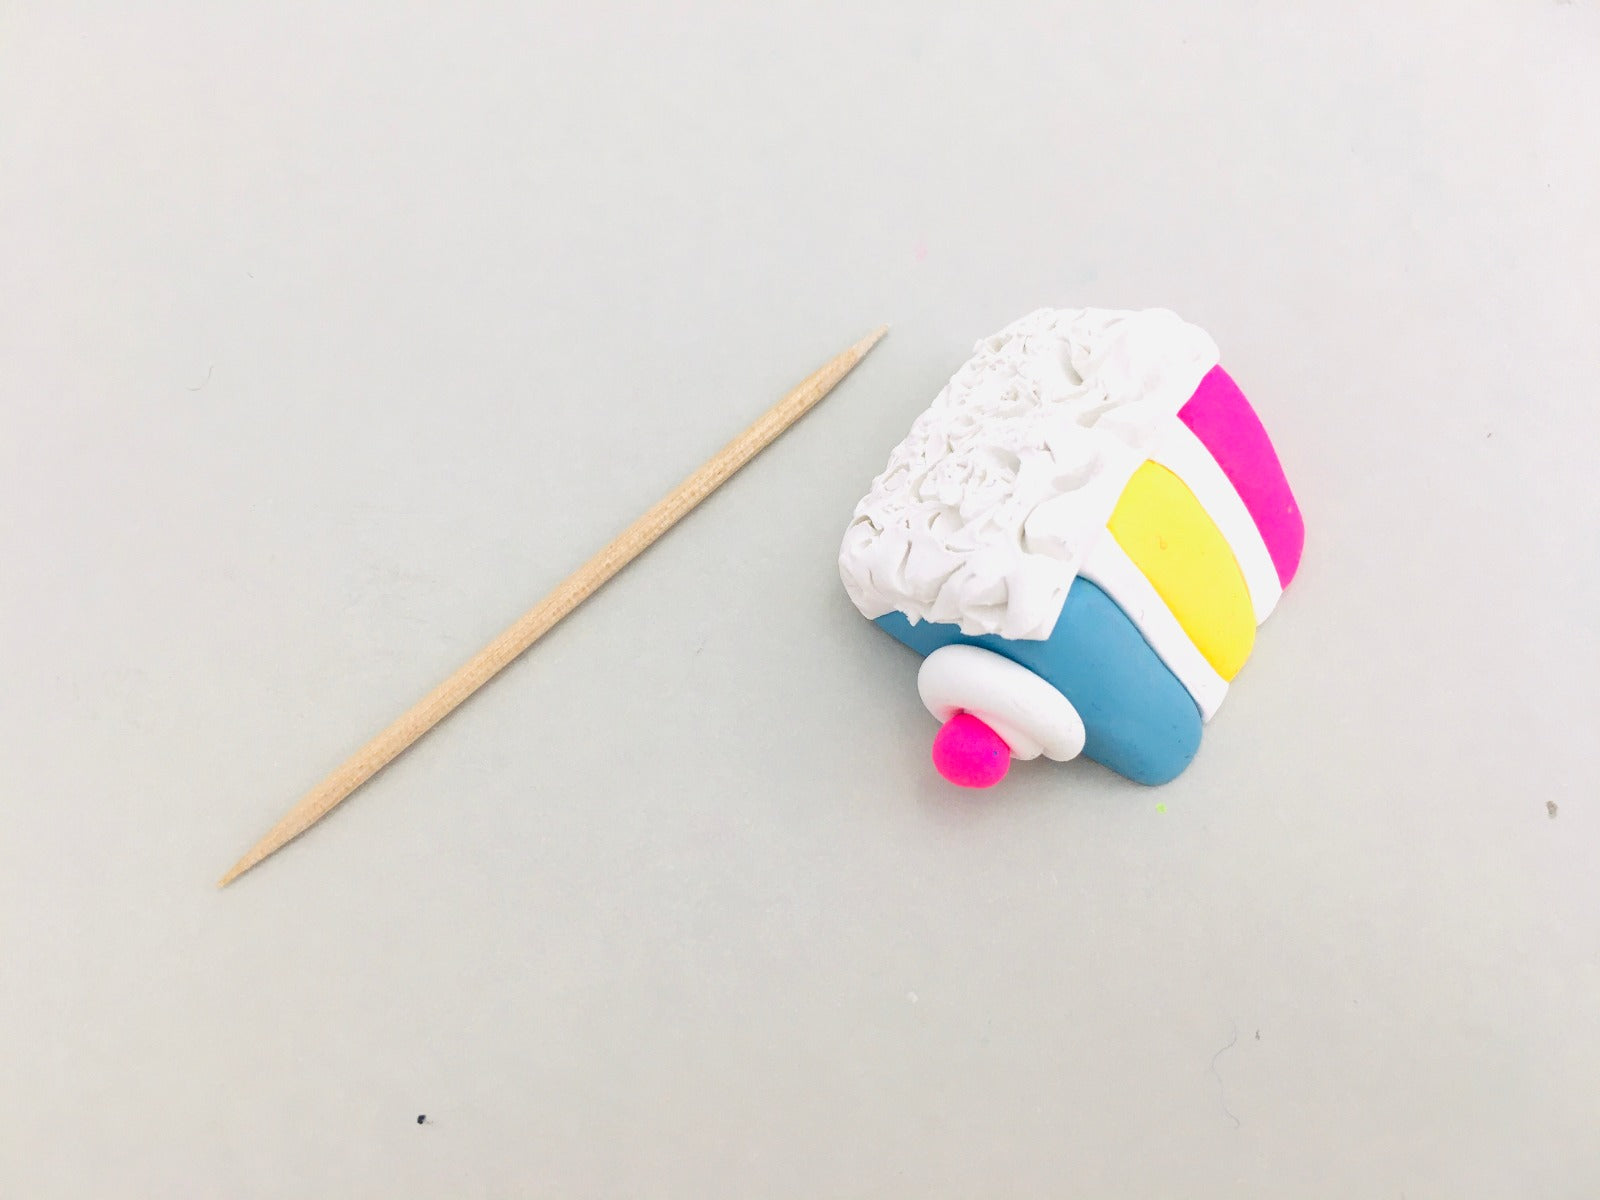
Repeat Steps 9-11 for the second piece of cake.

Bend the end of the eye hook up into a loop. Poke the loop into the slice of cake leaving the eye to extend out through the frosting on the end. Bake following the baking instructions for SculpeyIII®. Add lanyard hooks with a jump ring to each eye pin
