
Sculpey III® Marbled Ring Dish
Sculpey III® Marbled Ring Dish
Designed by Amy Koranek
Read More
Make a ring dish for yourself or for your friends and family. A useful little stash beside the sink for holding your rings while you wash up. Make them in every color combination you can imagine, and each one will be just as pretty as the next one.
COMPLETION TIME:
45 Minutes to make and bake
Read Less
ADDITIONAL SUPPLIES
- Bowl form such as a Fat Daddio’s hemispherical baking bowl 3”-4” diameter. You can also use any glass or metal bowl for a form.

Project Instructions
- Getting Started:
Start with clean hands, unwrap and knead clay until soft and smooth, or condition by running clay though a Pasta Machine. We recommend using a designated machine for clay purposes only. When working with multiple colors, clean hands with soap and water or baby wipes (we have found that baby wipes work best) before switching colors. Shape clay, pressing pieces firmly together. Wash hands after use.
- Baking:
These instructions are for a beginning marbling technique. Feel free to use your favorite marbling technique if you have one.
You will need 1/2 bar Teal Pearl, 1/4 bar Pearl, and 1/4 bar Purple. Condition and shape each color into lumps.
You will need 1/2 bar Teal Pearl, 1/4 bar Pearl, and 1/4 bar Purple. Condition and shape each color into lumps.
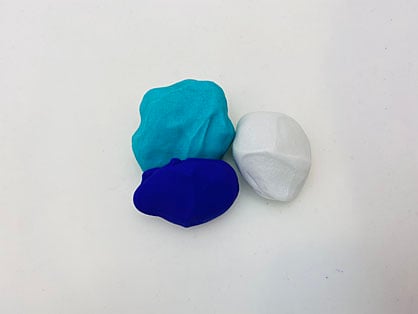
Push the lumps together to form a rough ball.

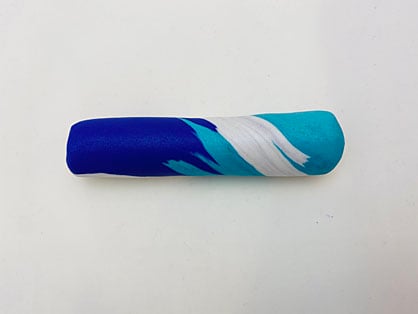
Roll into a log and twist slightly.
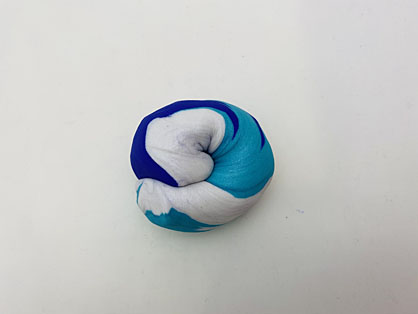
Coil the log up.
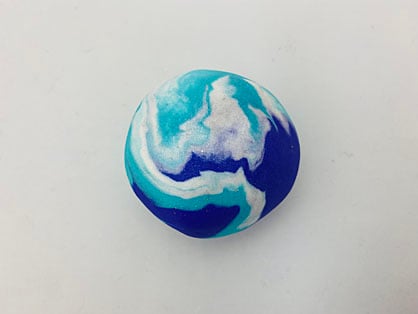
Roll the coil into a ball. If the colors are still very neat and organized, you can mess them up a bit by gently kneading the ball a few times. You may find that blending the colors like this adds more visual interest to your finished dish.
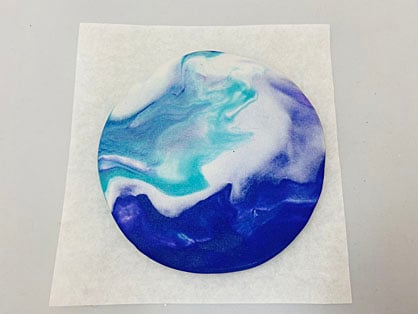
Flatten the ball into a patty. I like this side (showing) the best so I will make it the inside of the bowl. I have flattened the patty out on a wax deli sheet making it easier to handle from this point.
Roll over the patty with the Acrylic Clay Roller to make sure it is even in thickness.
Roll over the patty with the Acrylic Clay Roller to make sure it is even in thickness.
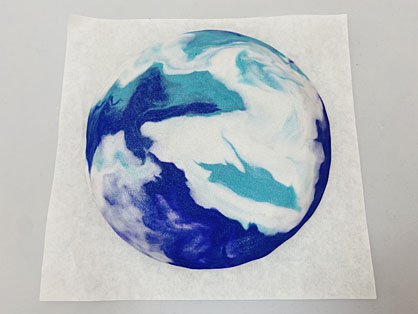
Flip the patty over, so that your least favorite side is now facing up.
Use finger pressure on the outer edges all the way around to force a bevel along the outer rim.
Use finger pressure on the outer edges all the way around to force a bevel along the outer rim.
Press the patty, wrong side facing up, onto the bottom of the bowl form. I like to use hemispherical bowls because the curve is the same no matter where you place the clay.
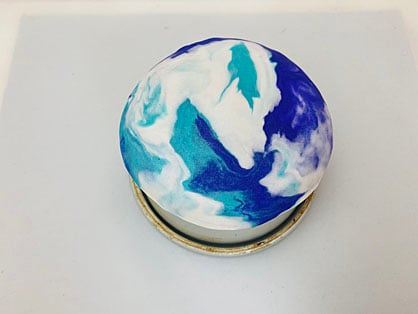
Make sure the interior of the bowl is in contact with the bowl form and that air bubbles are not trapped between the clay and the form.
Press the beveled edge down tight to the sides of the form.
Press the beveled edge down tight to the sides of the form.
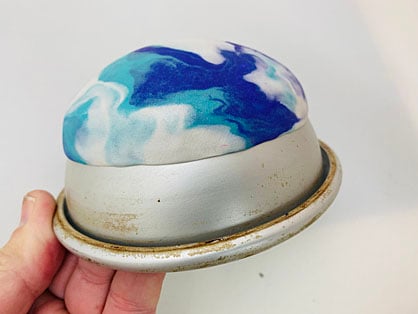
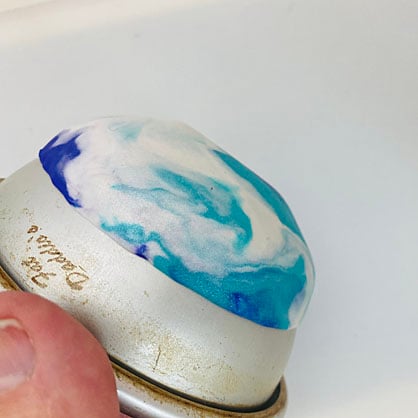
Flip the bowl form over so that the clay is now resting on the work surface. Allow the weight of the clay to steady the bowl. Press down with even pressure across the bowl form to flatten the bottom of the clay.

You should notice a flat spot on the bottom of the clay. Make sure the flat spot is as centered as possible so that the little dish will sit nicely when complete.
Bake the clay dish on the form with the form sitting on the baking sheet. Follow the baking instructions for Sculpey III. Allow to cool completely before handling.
Bake the clay dish on the form with the form sitting on the baking sheet. Follow the baking instructions for Sculpey III. Allow to cool completely before handling.
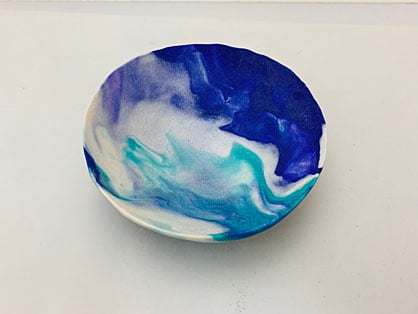
Carefully pop the clay dish off of the form. If necessary, you can use the tip of the knife shaped tool to carefully lift the clay off of the form.
- Choosing a selection results in a full page refresh.
- Opens in a new window.