
Sculpey Premo™ Terrazzo Moroccan Earrings
Sculpey Premo™ Terrazzo Moroccan Earrings
Designed by Amy Koranek
Read More
Make a terrazzo slab and push it into the Geometric Jewelry Mold for super simple earrings with a lot of detail and design.
COMPLETION TIME:
60 Minutes to make, bake, and assemble
Read Less
ADDITIONAL SUPPLIES
- Bright silver tone stick accents (2)
- 8 mm Bright silver tone jump rings (2)
- 4 mm Bright silver tone jump rings (4)
- Bright silver tone ear wires (2)
- Flat nose pliers
Project Instructions
- Getting Started:
Start with clean hands, unwrap and knead clay until soft and smooth, or condition by running clay though a Pasta Machine. We recommend using a designated machine for clay purposes only. When working with multiple colors, clean hands with soap and water or baby wipes (we have found that baby wipes work best) before switching colors. Shape clay, pressing pieces firmly together. Wash hands after use.
- Baking:
From 1/4 bar of Ecru, make a little sheet 1/8” thick with the Clay Roller. Make sure the sheet is large enough to accommodate two of the Moroccan shapes in the mold.

Pinch large randomly sized bits of clay from the side of the White bar and press them flat to the Ecru sheet. Roll over the bits with the Clay Roller to make them flat.

Use a Clay Blade to shave long thin pieces of Slate from the bar and press them to the sheet. Roll again to flatten.

Pinch smaller random bits from the side of the Gray Granite bar and press them to the sheet. Roll again.

Finally make very small dots of Pale Blue and press them to the sheet. Roll one more time.

Cut triangular shaped pieces out of the sheet that are roughly the size of the Moroccan shape in the mold. Here I’m showing you that my triangle size completely covers the mold shape.

Pinch a long skinny point in one tip of the triangle shaped clay. Flip the clay over so that the pattern is facing into the mold and push the pinched point into the tip of the Moroccan shape first.

Push the clay piece firmly into the mold allowing the excess to pile up around the bottom edge.

Fold the excess over into the mold to help fill up the shape to level. If necessary, take more bits from your terrazzo clay and fill the mold full to level.

You can bake your clay piece right in the mold if you wish, but I am going to de-mold my first shape so that I can fill the mold and bake both earring pieces at the same time. To preserve the nice finish that this mold gives to the clay I am going to de-mold it like this: Press the clay side of the mold firmly to the work surface with your thumb.

When you feel that the clay has “stuck” to the work surface, carefully peel the mold back leaving the clay piece on your work surface.

As I mentioned before, this mold leaves a really nice finish to the surface of the clay. That’s because the mold is polished. From here on out, I am careful to not scar the surface of the clay when touching it.

Repeat Steps 7-13 to make a second earring piece. Carefully decide where to poke a hole in the clay pieces with the Needle Tool so that the holes in the clay line up with the holes in the metal sticks if you are using them.
Bake the pieces following the baking instructions for Sculpey Premo™.
Bake the pieces following the baking instructions for Sculpey Premo™.
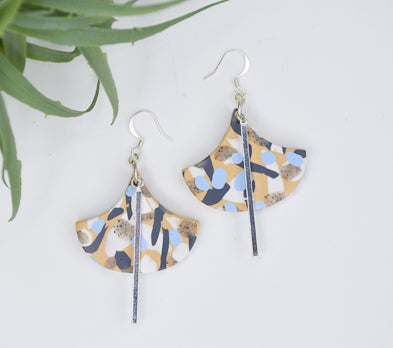
Here’s a look at how the earring will be assembled with the ear wire, jump rings, and the stick.

Use flat nose pliers to assemble the pieces.

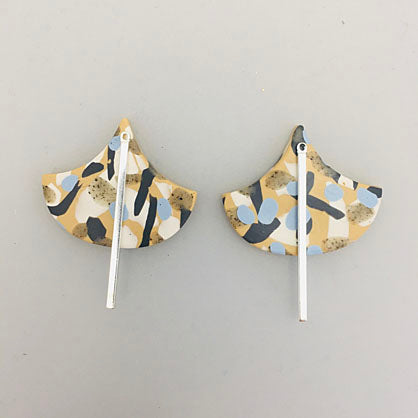
Here’s a look at the back of the earrings.

- Choosing a selection results in a full page refresh.
- Opens in a new window.