

premo! Accents Glowing Faux Opal Pendants
premo! Accents Glowing Faux Opal Pendants
Read More
The new Premo Sculpey Opal clay makes faux opal a snap when used along with the Sculpey cabochon and bezel molds! Just push, bake and assemble.
Designed by syndee holt
Read Less
ADDITIONAL SUPPLIES
Clear, fast-drying glue|Clear, fast-drying glue

Project Instructions
Getting Started:Polymer clay may stain. CLAY MAY DAMAGE UNPROTECTED FURNITURE OR FINISHED SURFACES. DO NOT USE polymer clay on unprotected surfaces. We recommend working on the Sculpey clay mat, wax paper, metal baking sheet, or disposable foil. Start with clean hands and work surface area. Knead clay until soft and smooth. For best results, clean your hands in between colors. Shape clay, pressing pieces together firmly. Bake on oven-proof glass or metal surface at 275 °F (130 °C) for 30 minutes per ¼" (6 mm) thickness. For best baking results, use an oven thermometer. DO NOT USE MICROWAVE OVEN. DO NOT EXCEED THE ABOVE TEMPERATURE OR RECOMMENDED BAKING TIME. Wash hands after use. Baking should be completed by an adult. Begin by preheating oven to 275 °F (130 °C). Test temperature with oven thermometer for perfectly cured clay. For best results, condition all clay by running it through the clay dedicated pasta machine several passes on the widest setting. Fold the clay in half after each pass and insert the fold side into the rollers first.
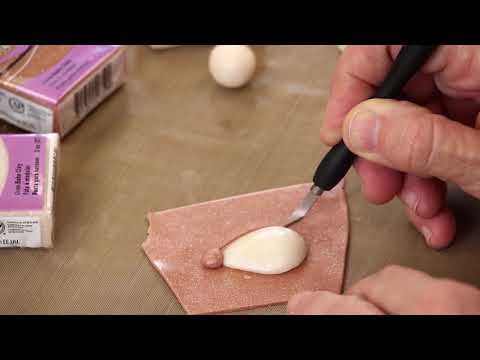
Pinch off a small portion of the Premo! Accents Opal clay and roll in your hands for a few moments to soften and condition it. You will need about a 5/8 inch ball for the largest cabochon molds. Place the ball into the mold and firmly press into the mold to cover the entire area of the mold. Set the filled mold aside. NOTE: If you need to trim excess clay from the mold, start your trim from the CENTER of the mold out to one edge and then repeat again from the CENTER to the opposite edge.

Roll the Premo! Accent 18k Jewelry clay through the Sculpey Clay Conditioning Machine on the #1 (widest) setting a few times until the clay is smooth. Use the round cutter that is closest in size to the bezel mold to cut out a circle of clay. Press the circle of clay into the bezel mold (focusing on pressing the clay into the deeper outside edges). If you must trim any excess clay, trim from the center to the outside portion of the mold. Do not remove from the mold.


Roll the remaining 18K Gold clay through the Sculpey Clay Conditioning Machine on the #3 setting and cut a small strip of clay about 1-1/2 inches long by 1/8-1/4 wide. Roll the end to create a loop. This will be the finding for the top of the completed piece. OPTIONAL: You can also roll some tiny coils of clay to further embellish the tops of the cabochons as shown.

Once you have all the cabochons and bezels filled that you will need, place the molds into a preheated oven at the temperature indicated on the instructions above and bake. Bake the loops and coils from step 4 above also.
Once all the items have baked allow to cool completely, pop the cabochons and bezels out of the molds. At this point you can use the Sculpey Glossy Glaze on the faux opal to highlight the sparkling colors. Allow the glaze to dry thoroughly. Assemble the pendant using the clear fast drying glue. Glue the loop to the top and back of the bezel. You are done!