
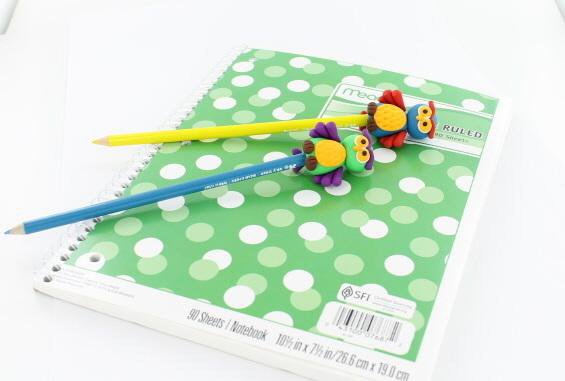
Sculpey® Amazing Eraser Clay® Owl Pencil Topper
Sculpey® Amazing Eraser Clay® Owl Pencil Topper
Read More
Read Less
ADDITIONAL SUPPLIES
• Pencil|• Pencil
Project Instructions
Do not use unbaked clay on unprotected furniture or finished surfaces. Start with clean hands and work surface area. Good work surfaces include wax paper, metal baking sheet, or disposable foil. Knead clay until soft and smooth. For best results, clean your hands in between colors. Shape clay, pressing pieces together firmly. Bake on oven-proof glass or metal surface at 275 °F (130 °C) for 30 minutes per 1/4” (6 mm) thickness. For best baking results, use an oven thermometer. DO NOT USE MICROWAVE OVEN. DO NOT EXCEED THE ABOVE TEMPERATURE OR RECOMMENDED BAKING TIME. Wash hands after use. Baking should be completed by an adult.Begin by preheating oven to 275 °F (130 °C). Test temperature with oven thermometer for perfectly cured clay. For best results, condition all clay by running it through the clay dedicated pasta machine several passes on the widest setting. Fold the clay in half after each pass and insert the fold side into the rollers first.
Use the Clay Conditioning Machine on the widest setting to mix about one half bar of Turquoise and one half bar of White. Once the colors are mixed evenly, run the clay through the Clay Conditioning Machine again on the #2 setting. Set the sheet on your work surface.
Using the Cherry Blossom texture from the Landscape Texture Sheets, Lightly mist the Cherry Blossom texture sheet with water and press it firmly into the sheet of clay.

Using a medium oval cutter, cut out an oval shape for the tag.

Use the Clay Conditioning Machine on the #1 setting to condition a bar of Burnt Umber Set the sheet on your work surface. Use the large oval cutter to cut an oval shape for the background of the tag.

Position the textured oval on this background sheet of clay, leave a little more room at the top for the tag hole. Use the small Etch and Pearl tool to punch a hole in the top of the tag.

Bake the tag according to the above directions and allow to cool.
Wrap several lengths of brown raffia around the neck of the bottle and tie them off in a double knot, trimming the ends to the bottom of the bottle. Fold another length of raffia in half and tuck the folded loop through the hole in the tag. Pull the loop up and feed the ends of the raffia through the loop and tie around the bottle. DONE! Just add your scent and bamboo skewers and enjoy!