Bake Shop™ Snuggly Sloth
Bake Shop™ Snuggly Sloth
Read More
Read Less
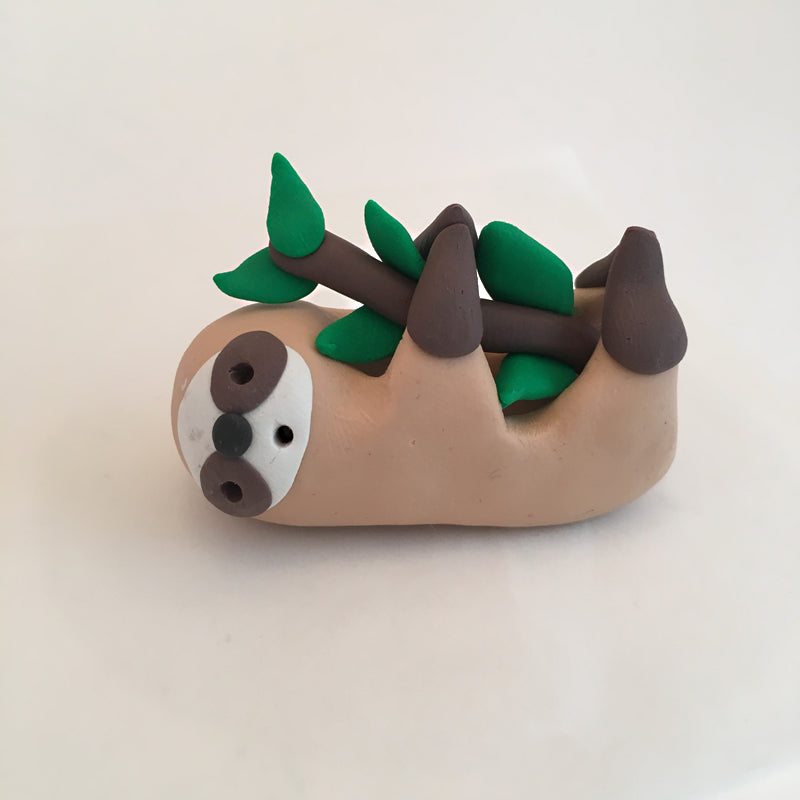
This little guy, snuggling on his tree branch will be a cool addition to your bookshelf or houseplant!
ADDITIONAL SUPPLIES
This little guy, snuggling on his tree branch will be a cool addition to your bookshelf or houseplant!

Project Instructions
- Getting Started:
Start with clean hands, unwrap and knead clay until soft and smooth, or condition by running clay though a Pasta Machine. We recommend using a designated machine for clay purposes only. When working with multiple colors, clean hands with soap and water or baby wipes (we have found that baby wipes work best) before switching colors. Shape clay, pressing pieces firmly together. Wash hands after use.
- Baking:
Shape one of of the bars of Tan into a log that is thicker on one end.

Press the ball ended tool into the log to form a well.

Open the well up with your fingers. Create a ridge on either side of the well by pinching the clay upward.

Push the middle of each ridge back down with the ball ended tool. This will divide each ridge into two sections that can be pinched into legs.

Pinch and pull the divided ridge area into four little pointed legs.

Make four little teardrop shapes from Brown. Pinch one teardrop onto each of the legs to make little feet.

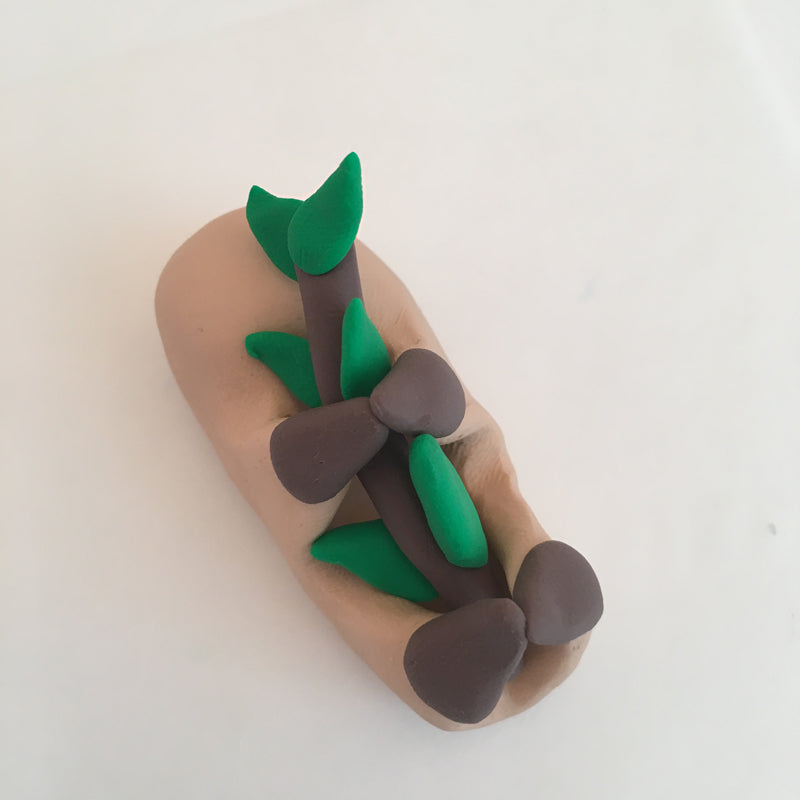
Set the sloth aside while you make a little branch for him to snuggle. Make a tiny log from Brown. Make six teardrop shapes from Green for leaves.

Press and flatten the leaves onto the sides of the branch.

Place the leafy branch in the well between the legs and feet. Pinch the feet together so that he’s holding the branch.
Add a flat White oval pancake to the head for his face area.

Add flat Brown ovals for the eyes and poke holes in them with the pointed tool. Add a little Black nose. Poke a hole in for the mouth. Bake the sloth following the baking instructions in Step 1. Allow to cool completely before handling.